
Introduction
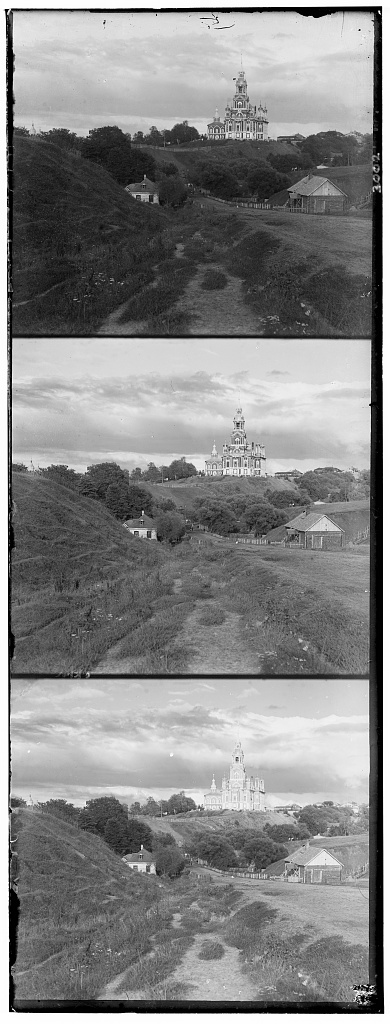
A long time ago, a man by the name of Sergei Mikhailovich Prokudin-Gorskii (1863-1944) went around Russia and recorded three exposures of every scene onto a glass plate using a red, a green, and a blue filter. We're talking people, buildings, landscapes, railroads, bridges, and everything in between! To his dismay, nobody was ever able to colorize these images until well after his death. This project aims to do Sergei proud by developing an algorithm to produce a color image with as few visual artifacts as possible.
Methodology
Naive Search
For the naive implementation, I found that the easiest way to align the different channels was to exhaustively search over a window of possible displacements. Through searching over every possible displacement vector, I then used two different metrics for scoring the images, and chose the displacement which yielded the best score.
As you can see on the right, the images first need to be split into their three color channels. After doing so, I realized there were some borders on around each image. I thus decided to remove the outer 10% of each image to make them less noisy for the purposes of the algorithm. I then proceeded to use a [-15, 15] pixel search range (as recommended by the project spec) and used the following metrics to align my color channels:
SSD (Sum of Squared Differences):
$$SSD(\vec{x}, \vec{y}) = \sum_{i}\sum_{j}(\vec{x}_{i,j} - \vec{y}_{i,j})^2$$
NCC (Normalized Cross Correlation):
$$NCC(\vec{x}, \vec{y}) = \langle\frac{\vec{x}}{||\vec{x}||}, \frac{\vec{y}}{||\vec{y}||}\rangle$$
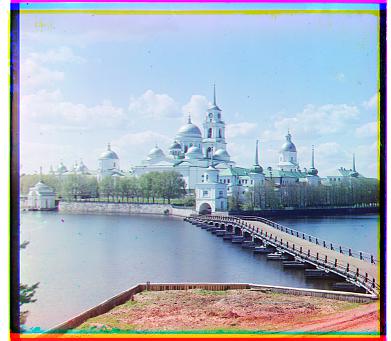
Let's take a look at the result of this method on the cathedral as seen above.
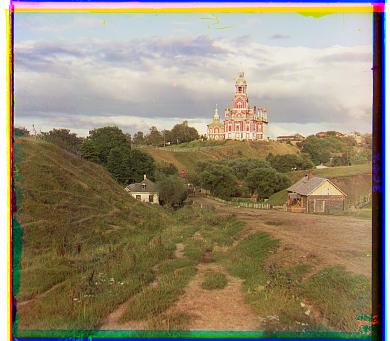
Nice, looks pretty good! But how about higher resolution images..?
Pyramid Search
The aforementioned method worked well on images of around 400 pixels by 400 pixels. However, since many of the images are of a much higher resolution (e.g. 3,000 pixels by 3,000 pixels), I found that the naive search became ridiculously expensive since the search space had become too large! To combat this, I decided to use an image pyramid.
By taking a high resultion image and simply rescaling it to a lower resolution image, the search space can be vastly decreased to make things more computationally feasible. Using this logic, my algorithm (i) rescales the image by halves until the dimension is roughly 400 pixels by 400 pixels again, and runs the naive algorithm using a [-15, 15] pixel search range. After obtaining the results from this, it (ii) propagates back up the recursive stack and keeps running the search method as it rescales the image back to its original resolution, but at a small search range so as not to be computationally expensive. This way, the algorithm will zero in on the best displacement vector as it works its way back up the recursive stack as opposed to running an exhaustive search at just the very top level.
Here is a small snippet of the python code for the described algorithm:
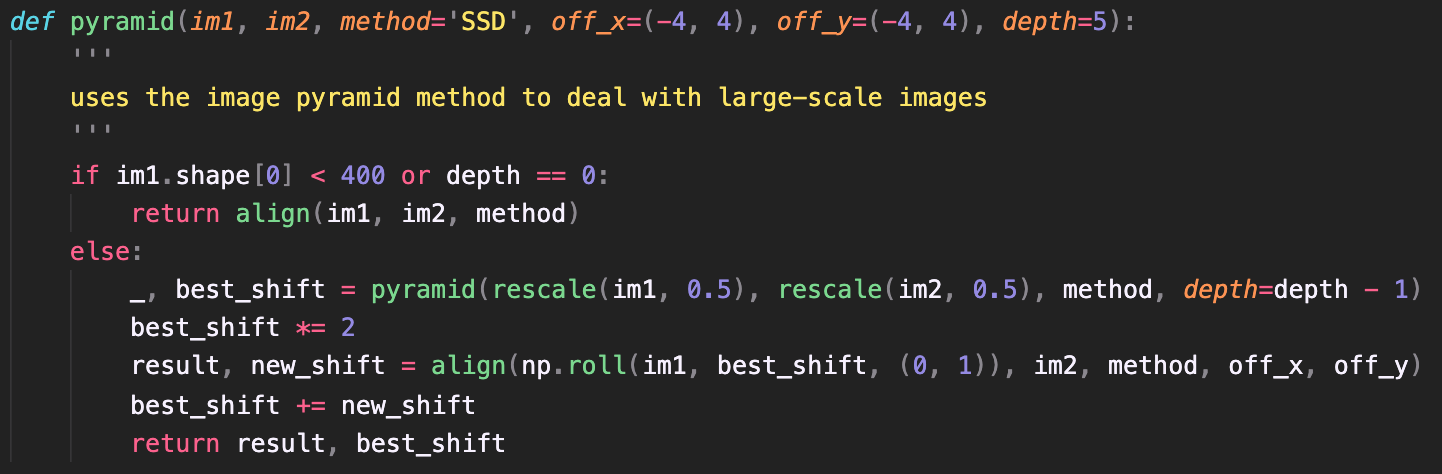
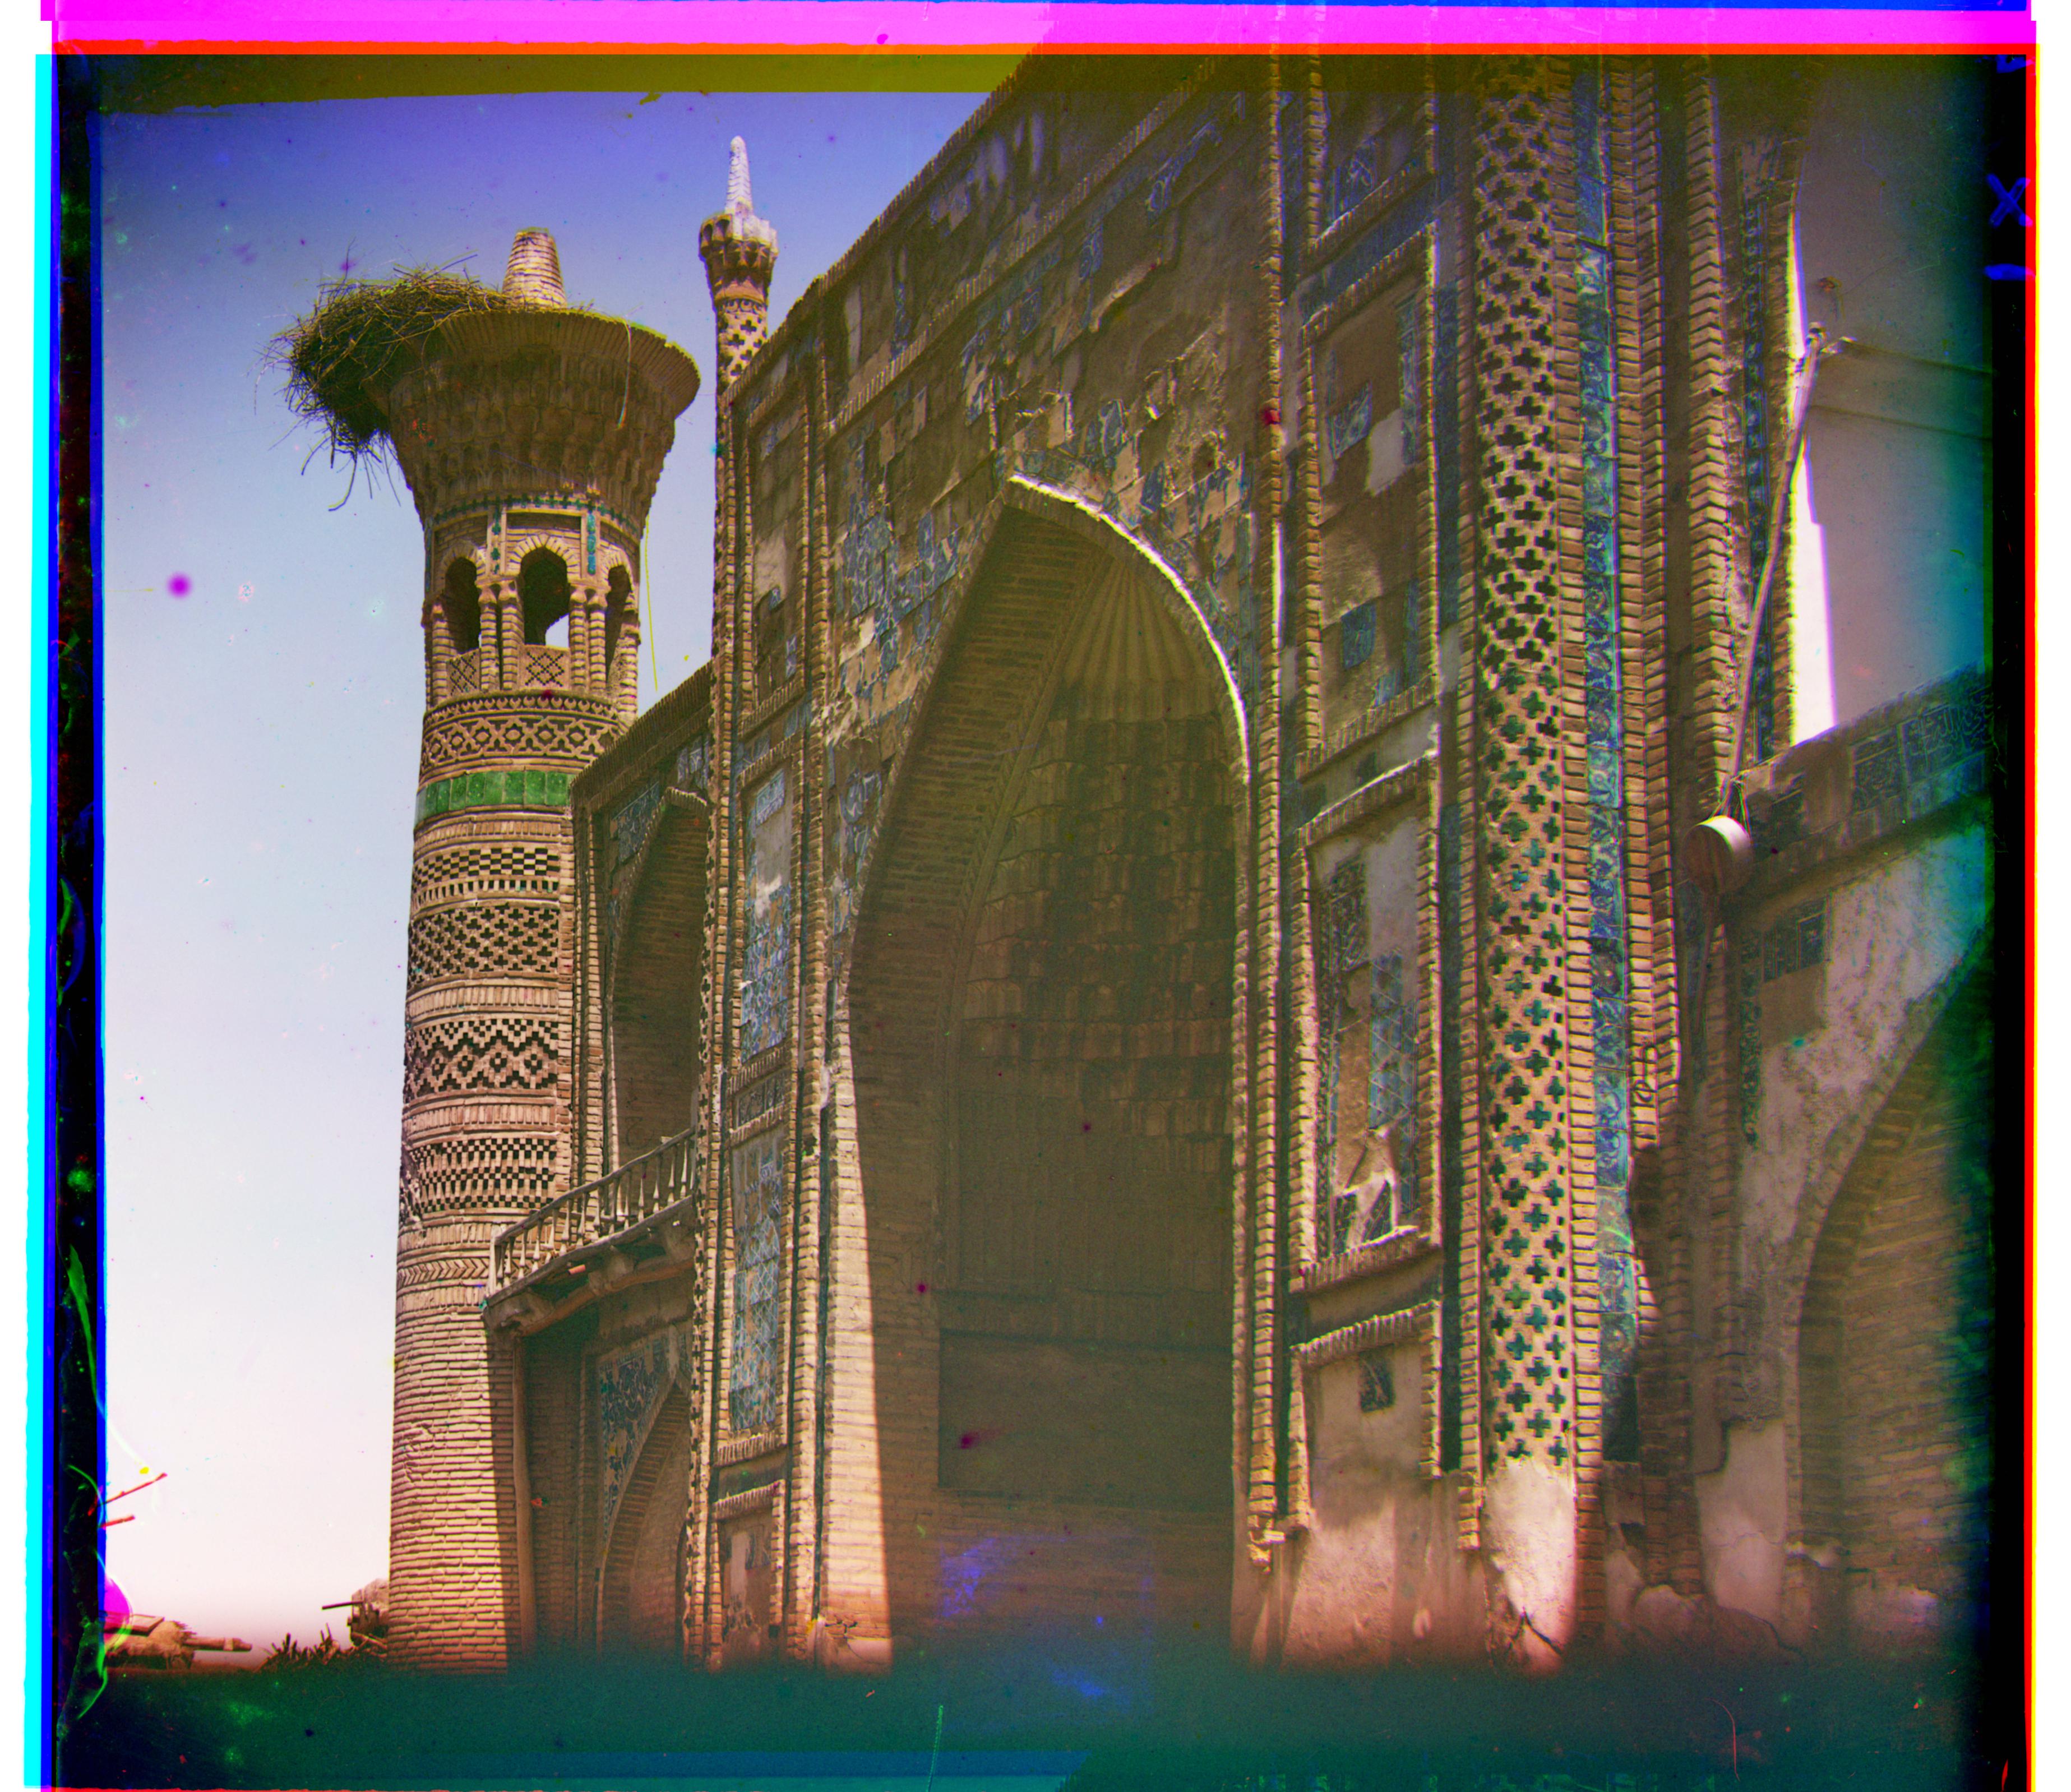
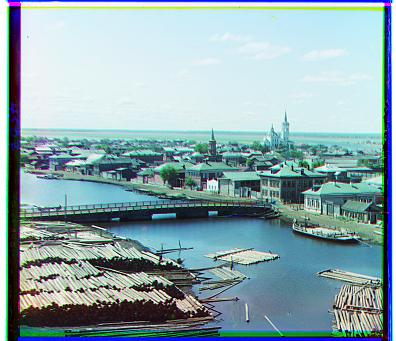
Now let's try this on a higher resolution image, onion_church.tif:

Bells & Whistles
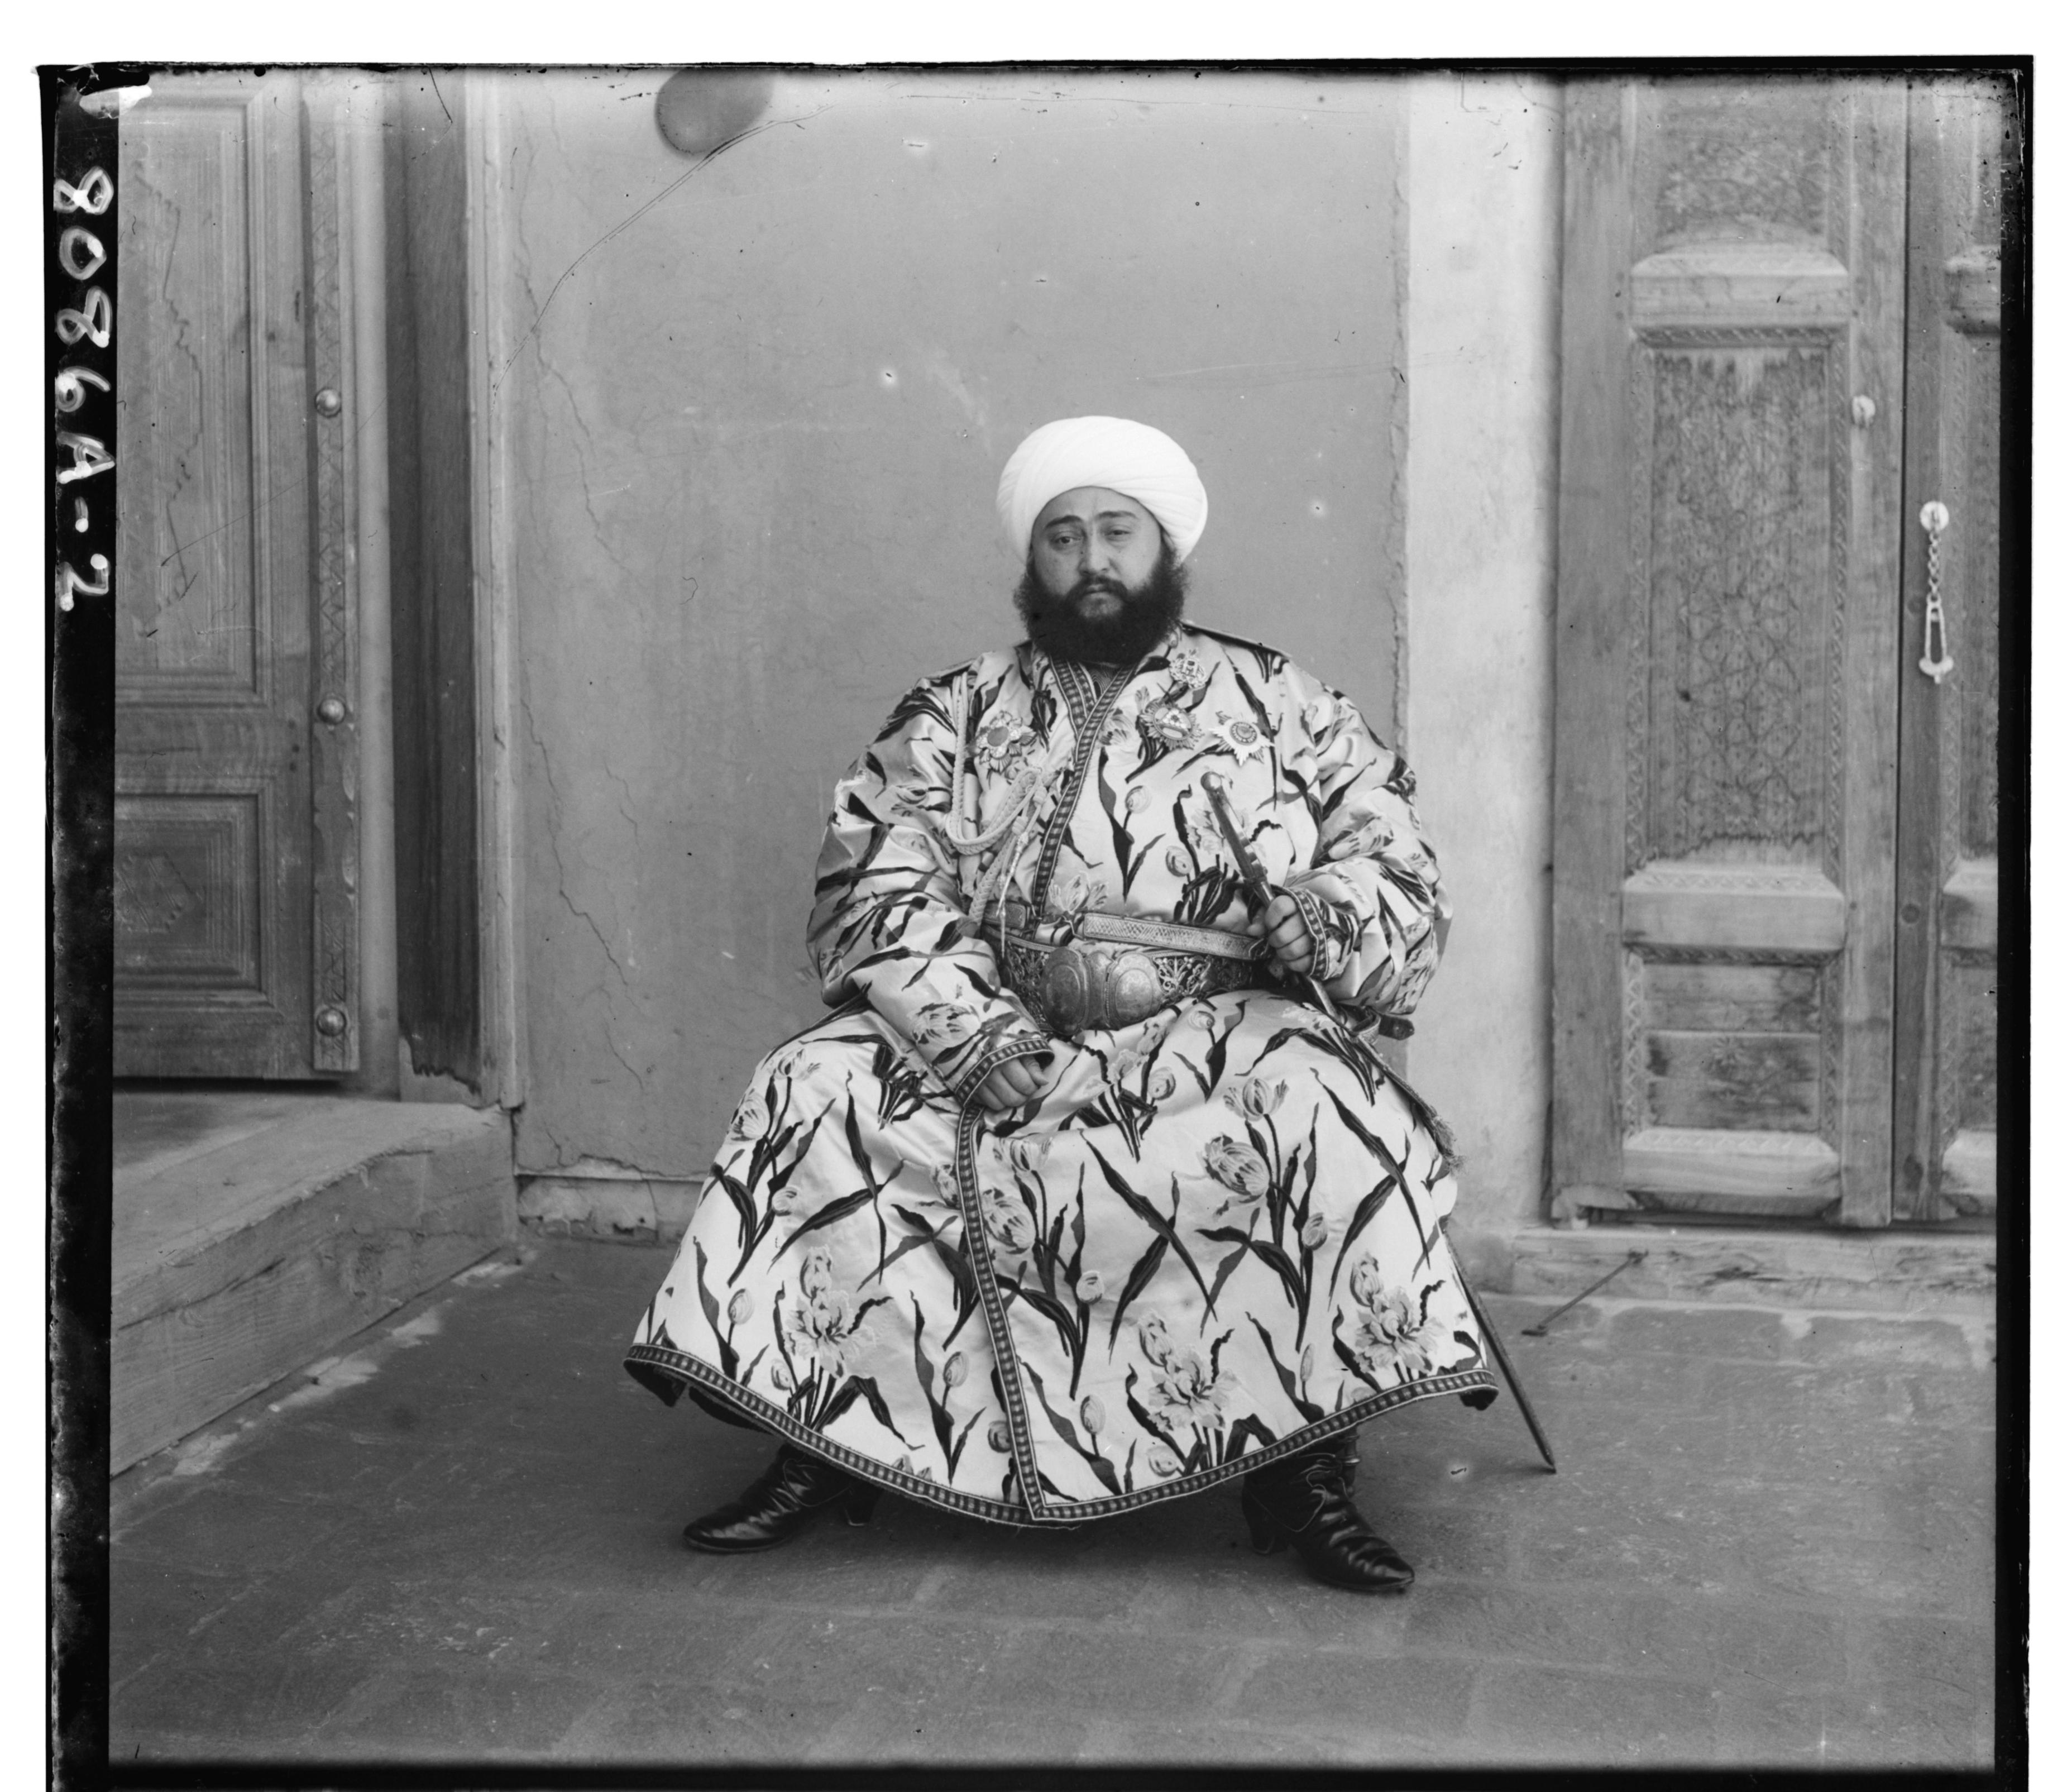
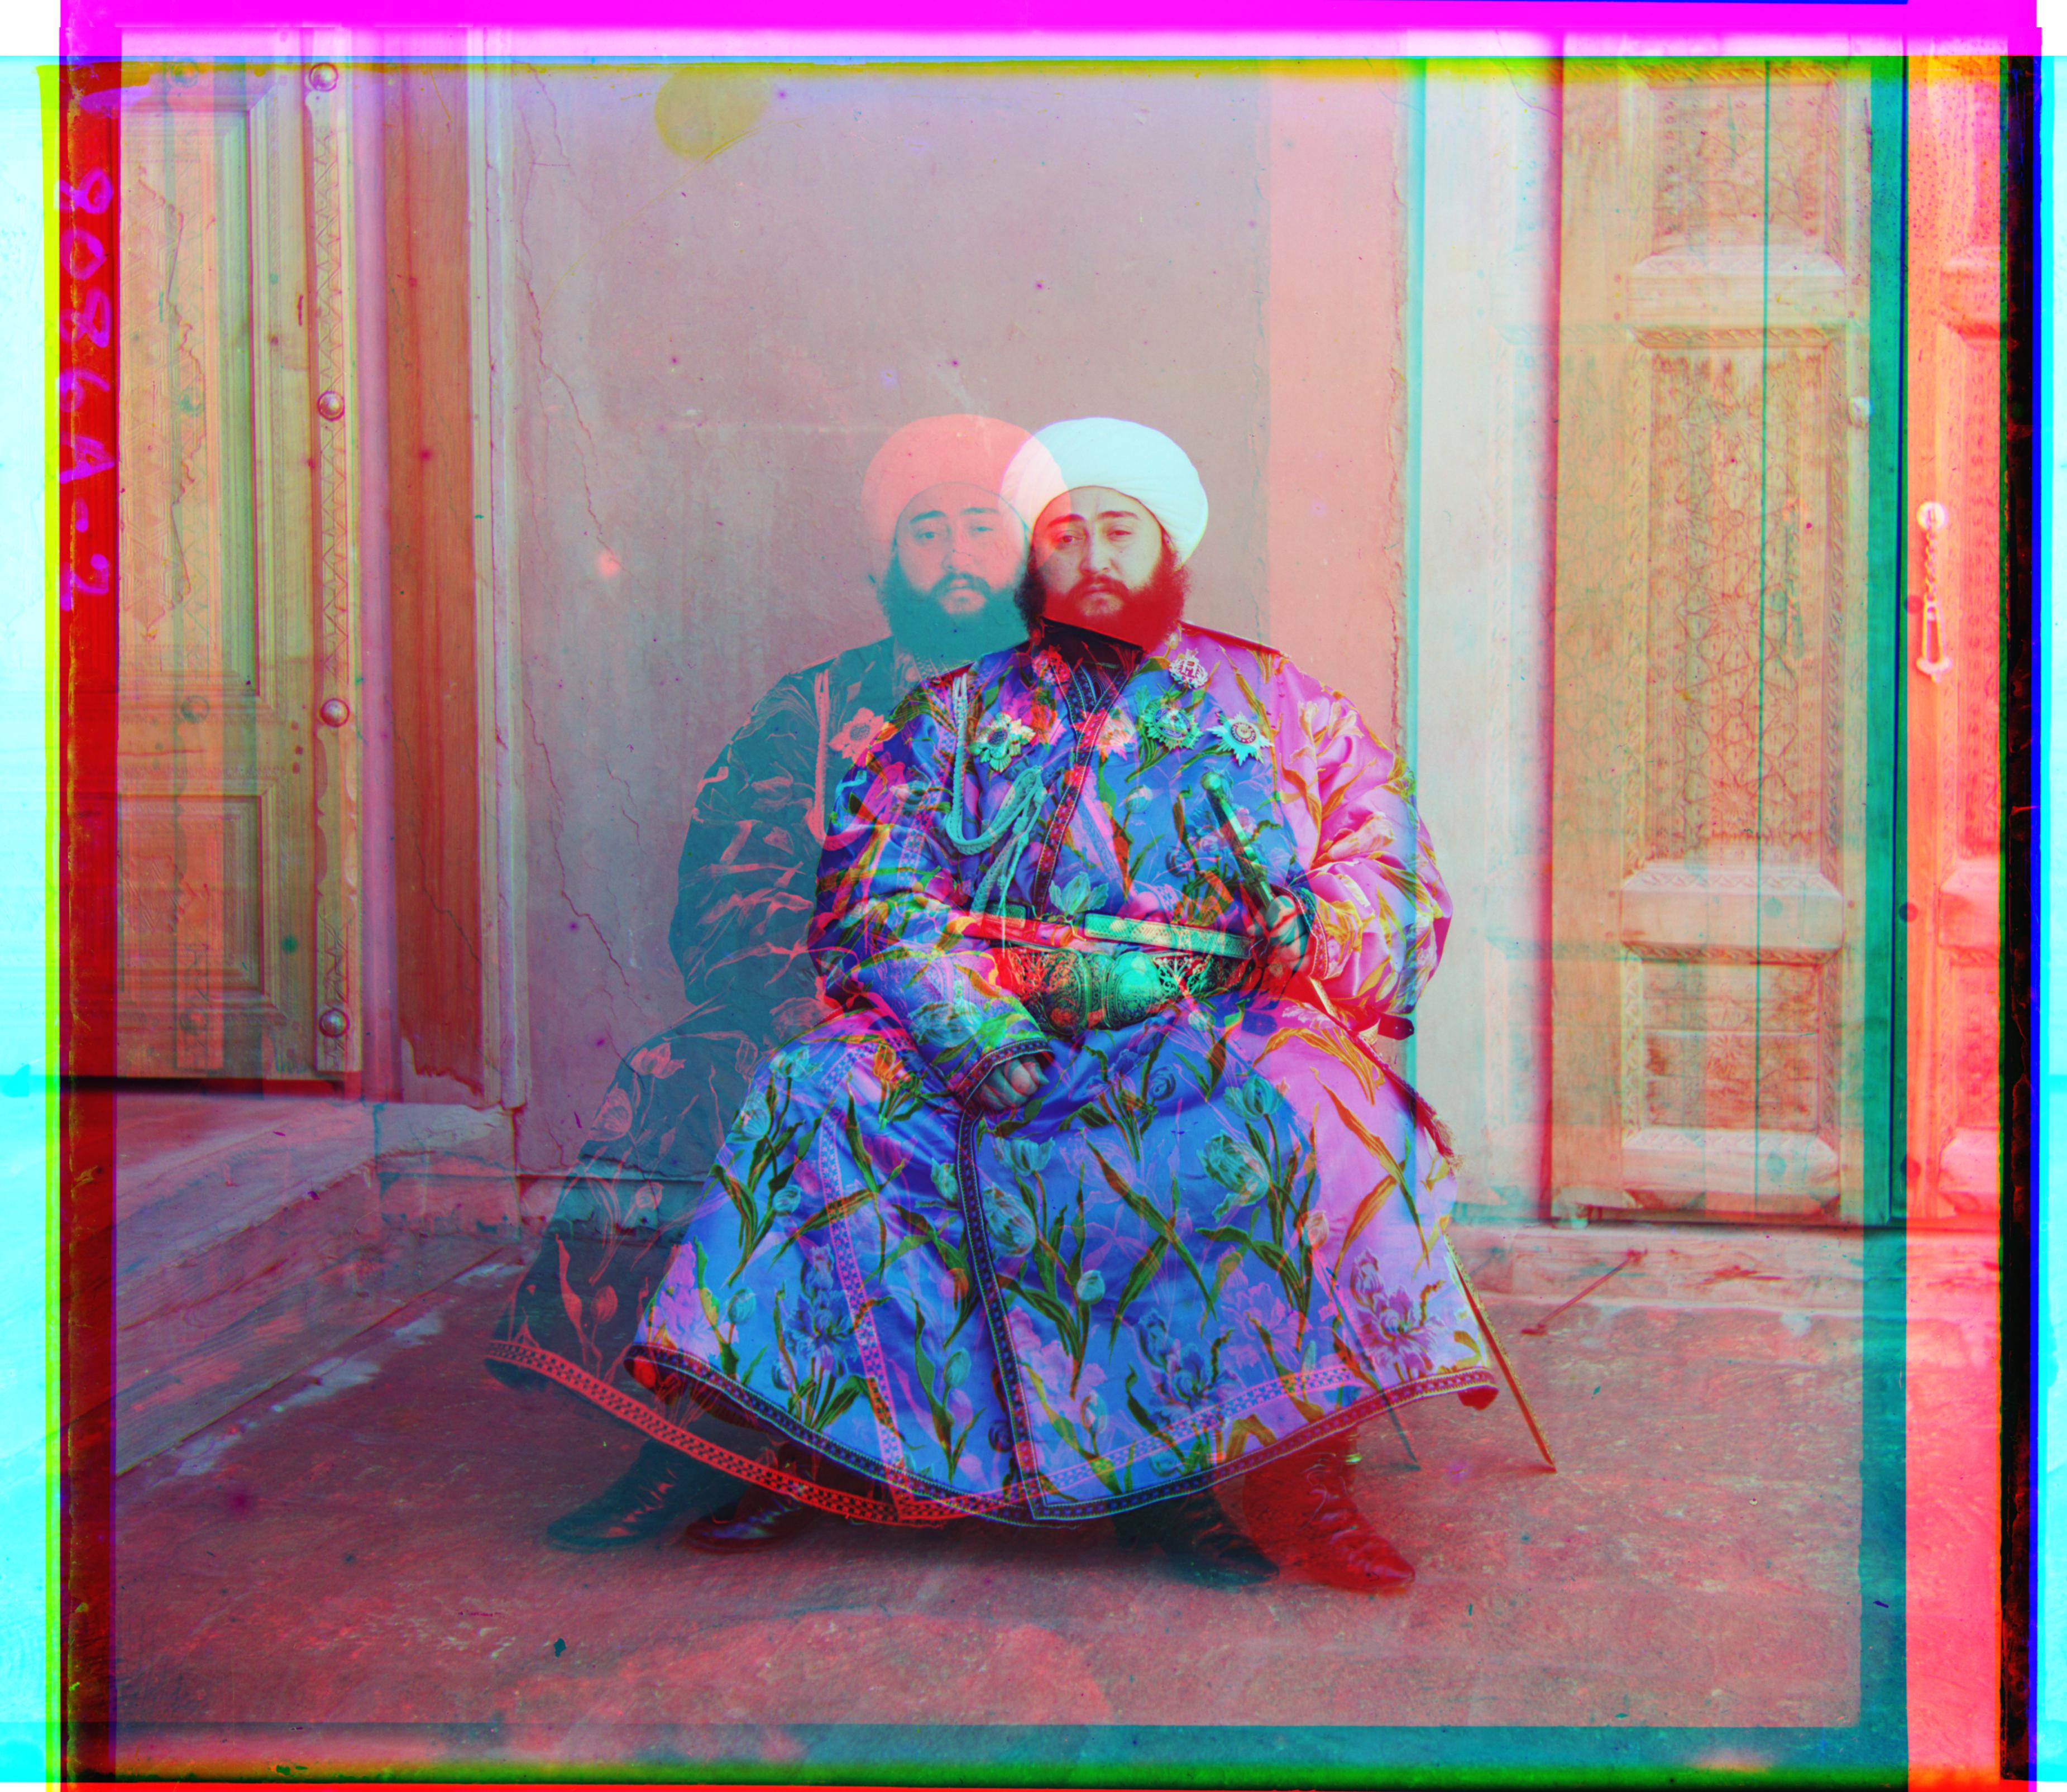
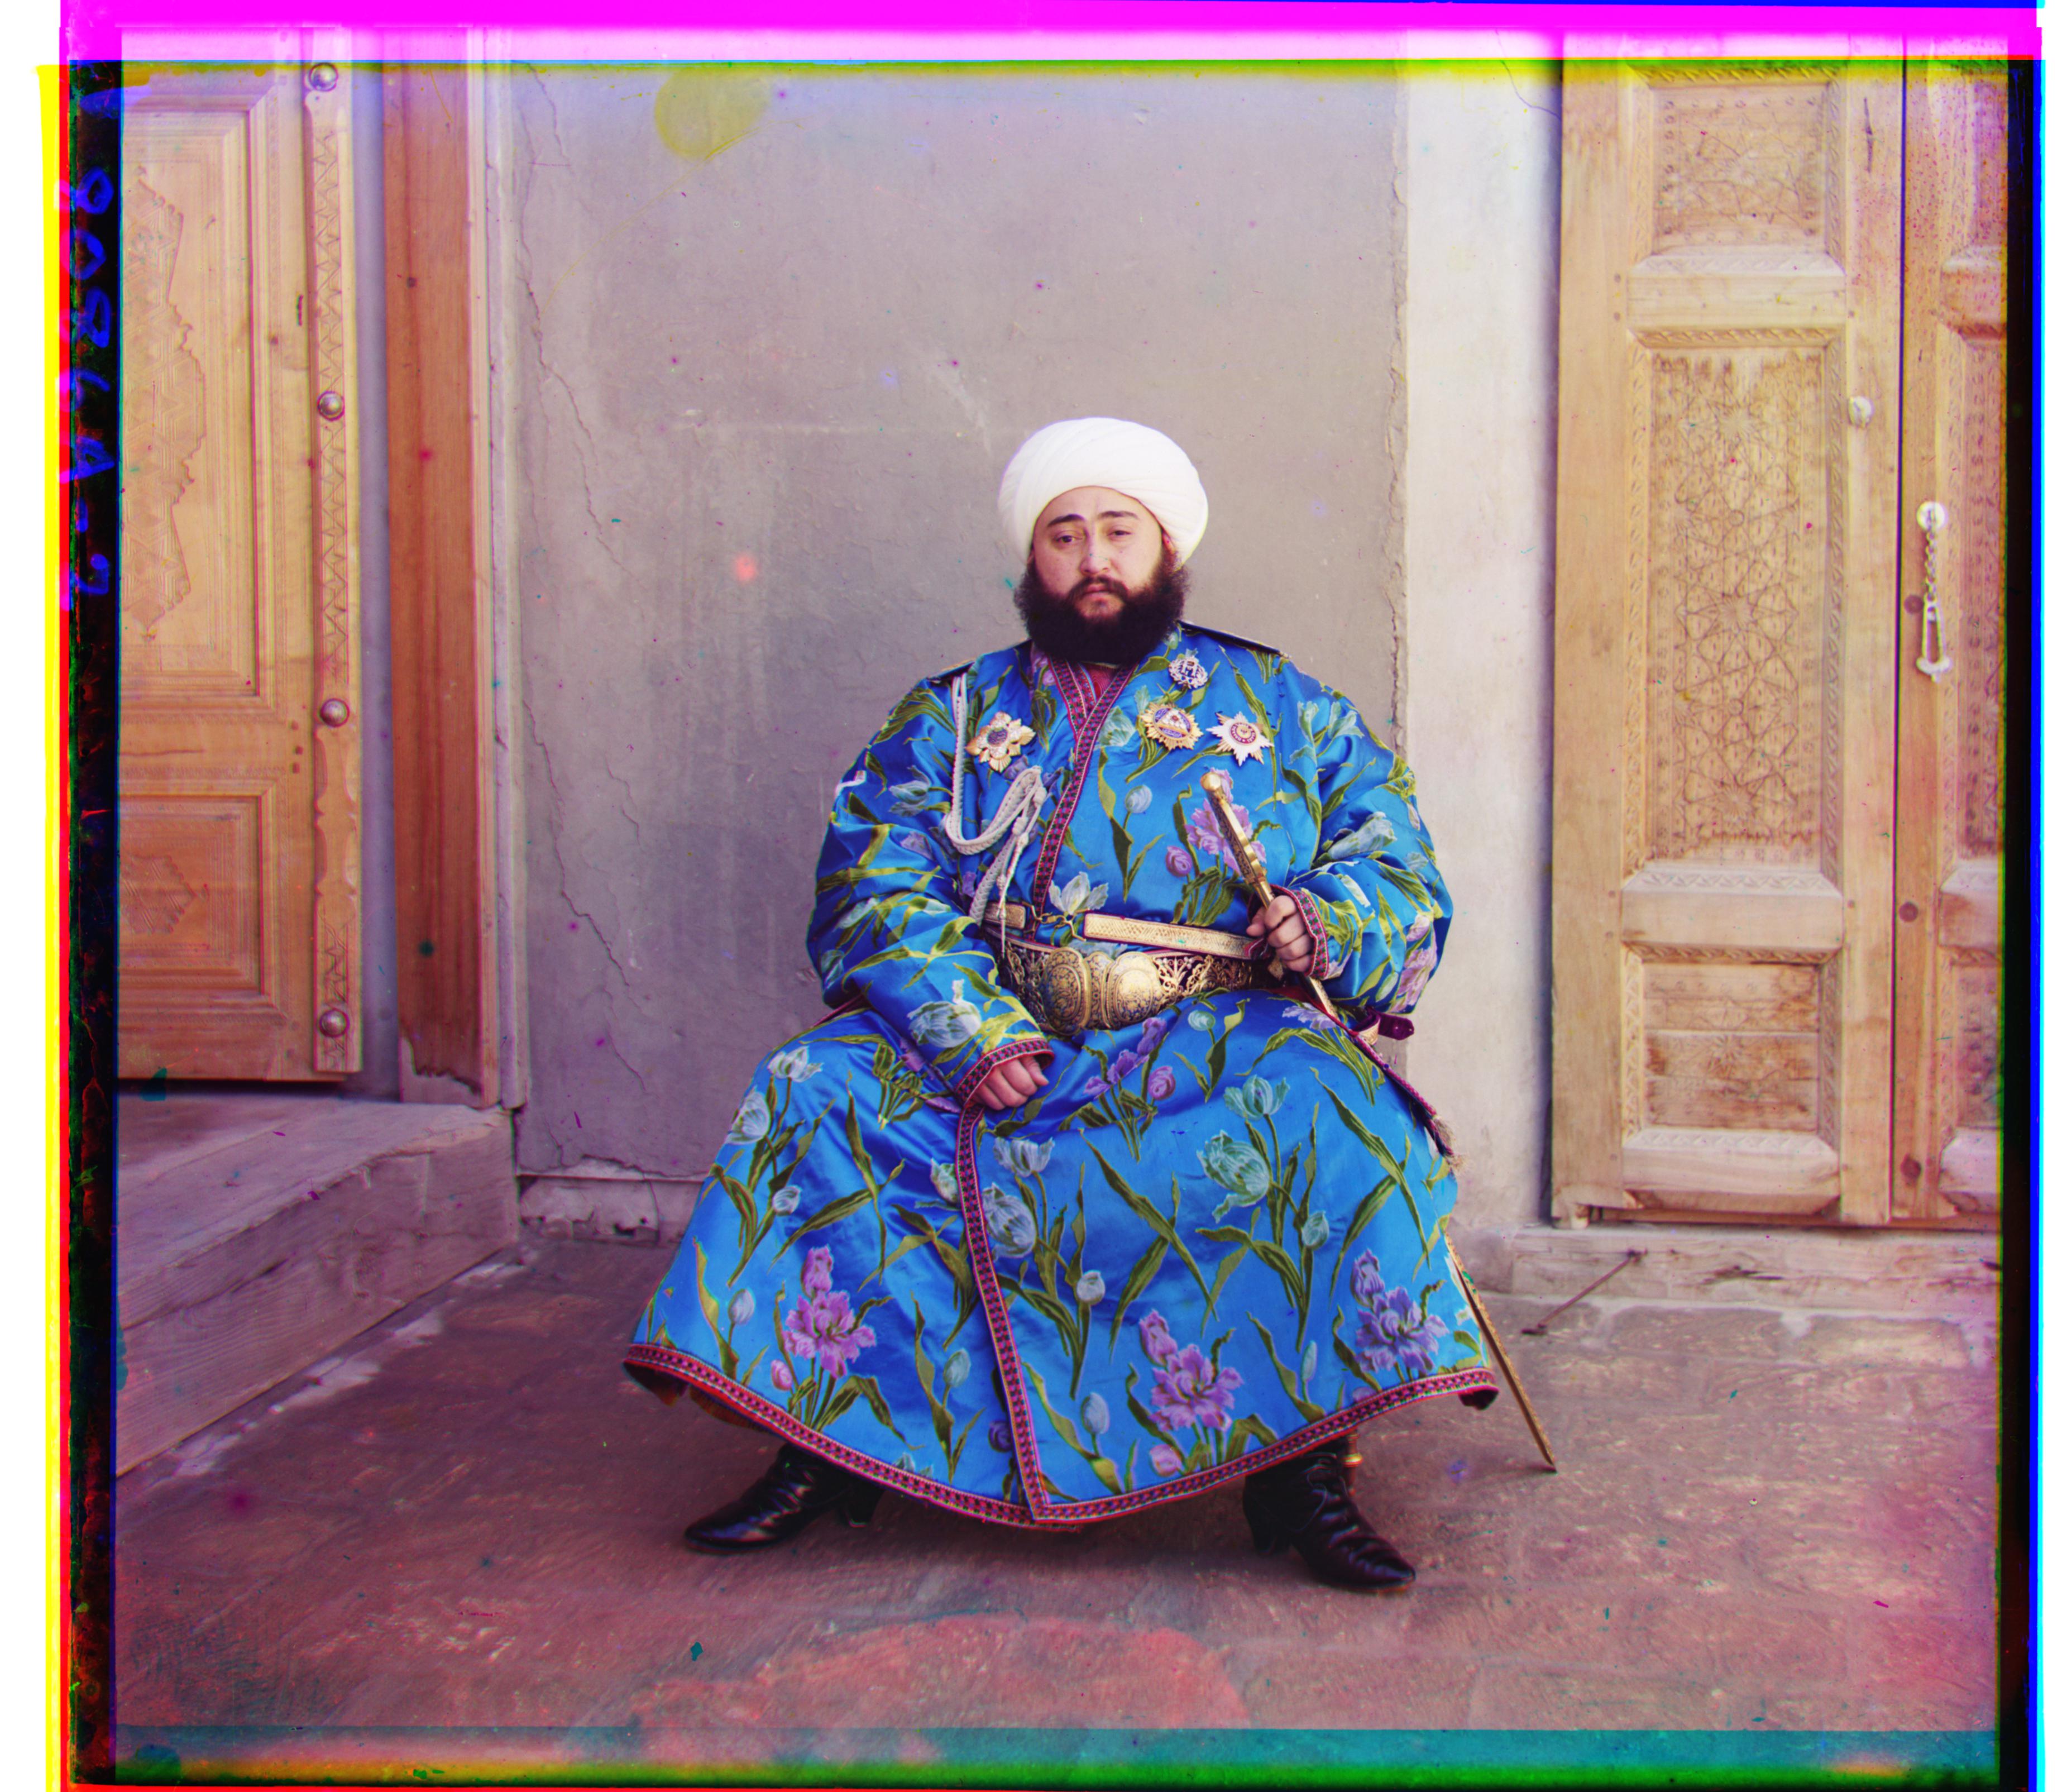
After thinking about the issue for some time, I realized that if the brightness is the issue, I just need a way to remove the brightness from the equation. I hypothesized that if instead of passing in the raw images to be aligned, I were to pass them through an edge detection filter, the brightness would no longer be an issue! The algorithm would then just do its work to align based on solely the emphasized edges of Emir.
In order to do this, two 3x3 convolutional filters are used to estimate the gradients (derivatives) of the image, one for horizontal and one for vertical.
$$V = \begin{bmatrix} 1 & 0 & -1\\ 2 & 0 & -2\\ 1 & 0 & -1 \end{bmatrix}\ \ \ \ \ H = \begin{bmatrix} 1 & 2 & 1\\ 0 & 0 & 0\\ -1 & -2 & -1 \end{bmatrix}$$
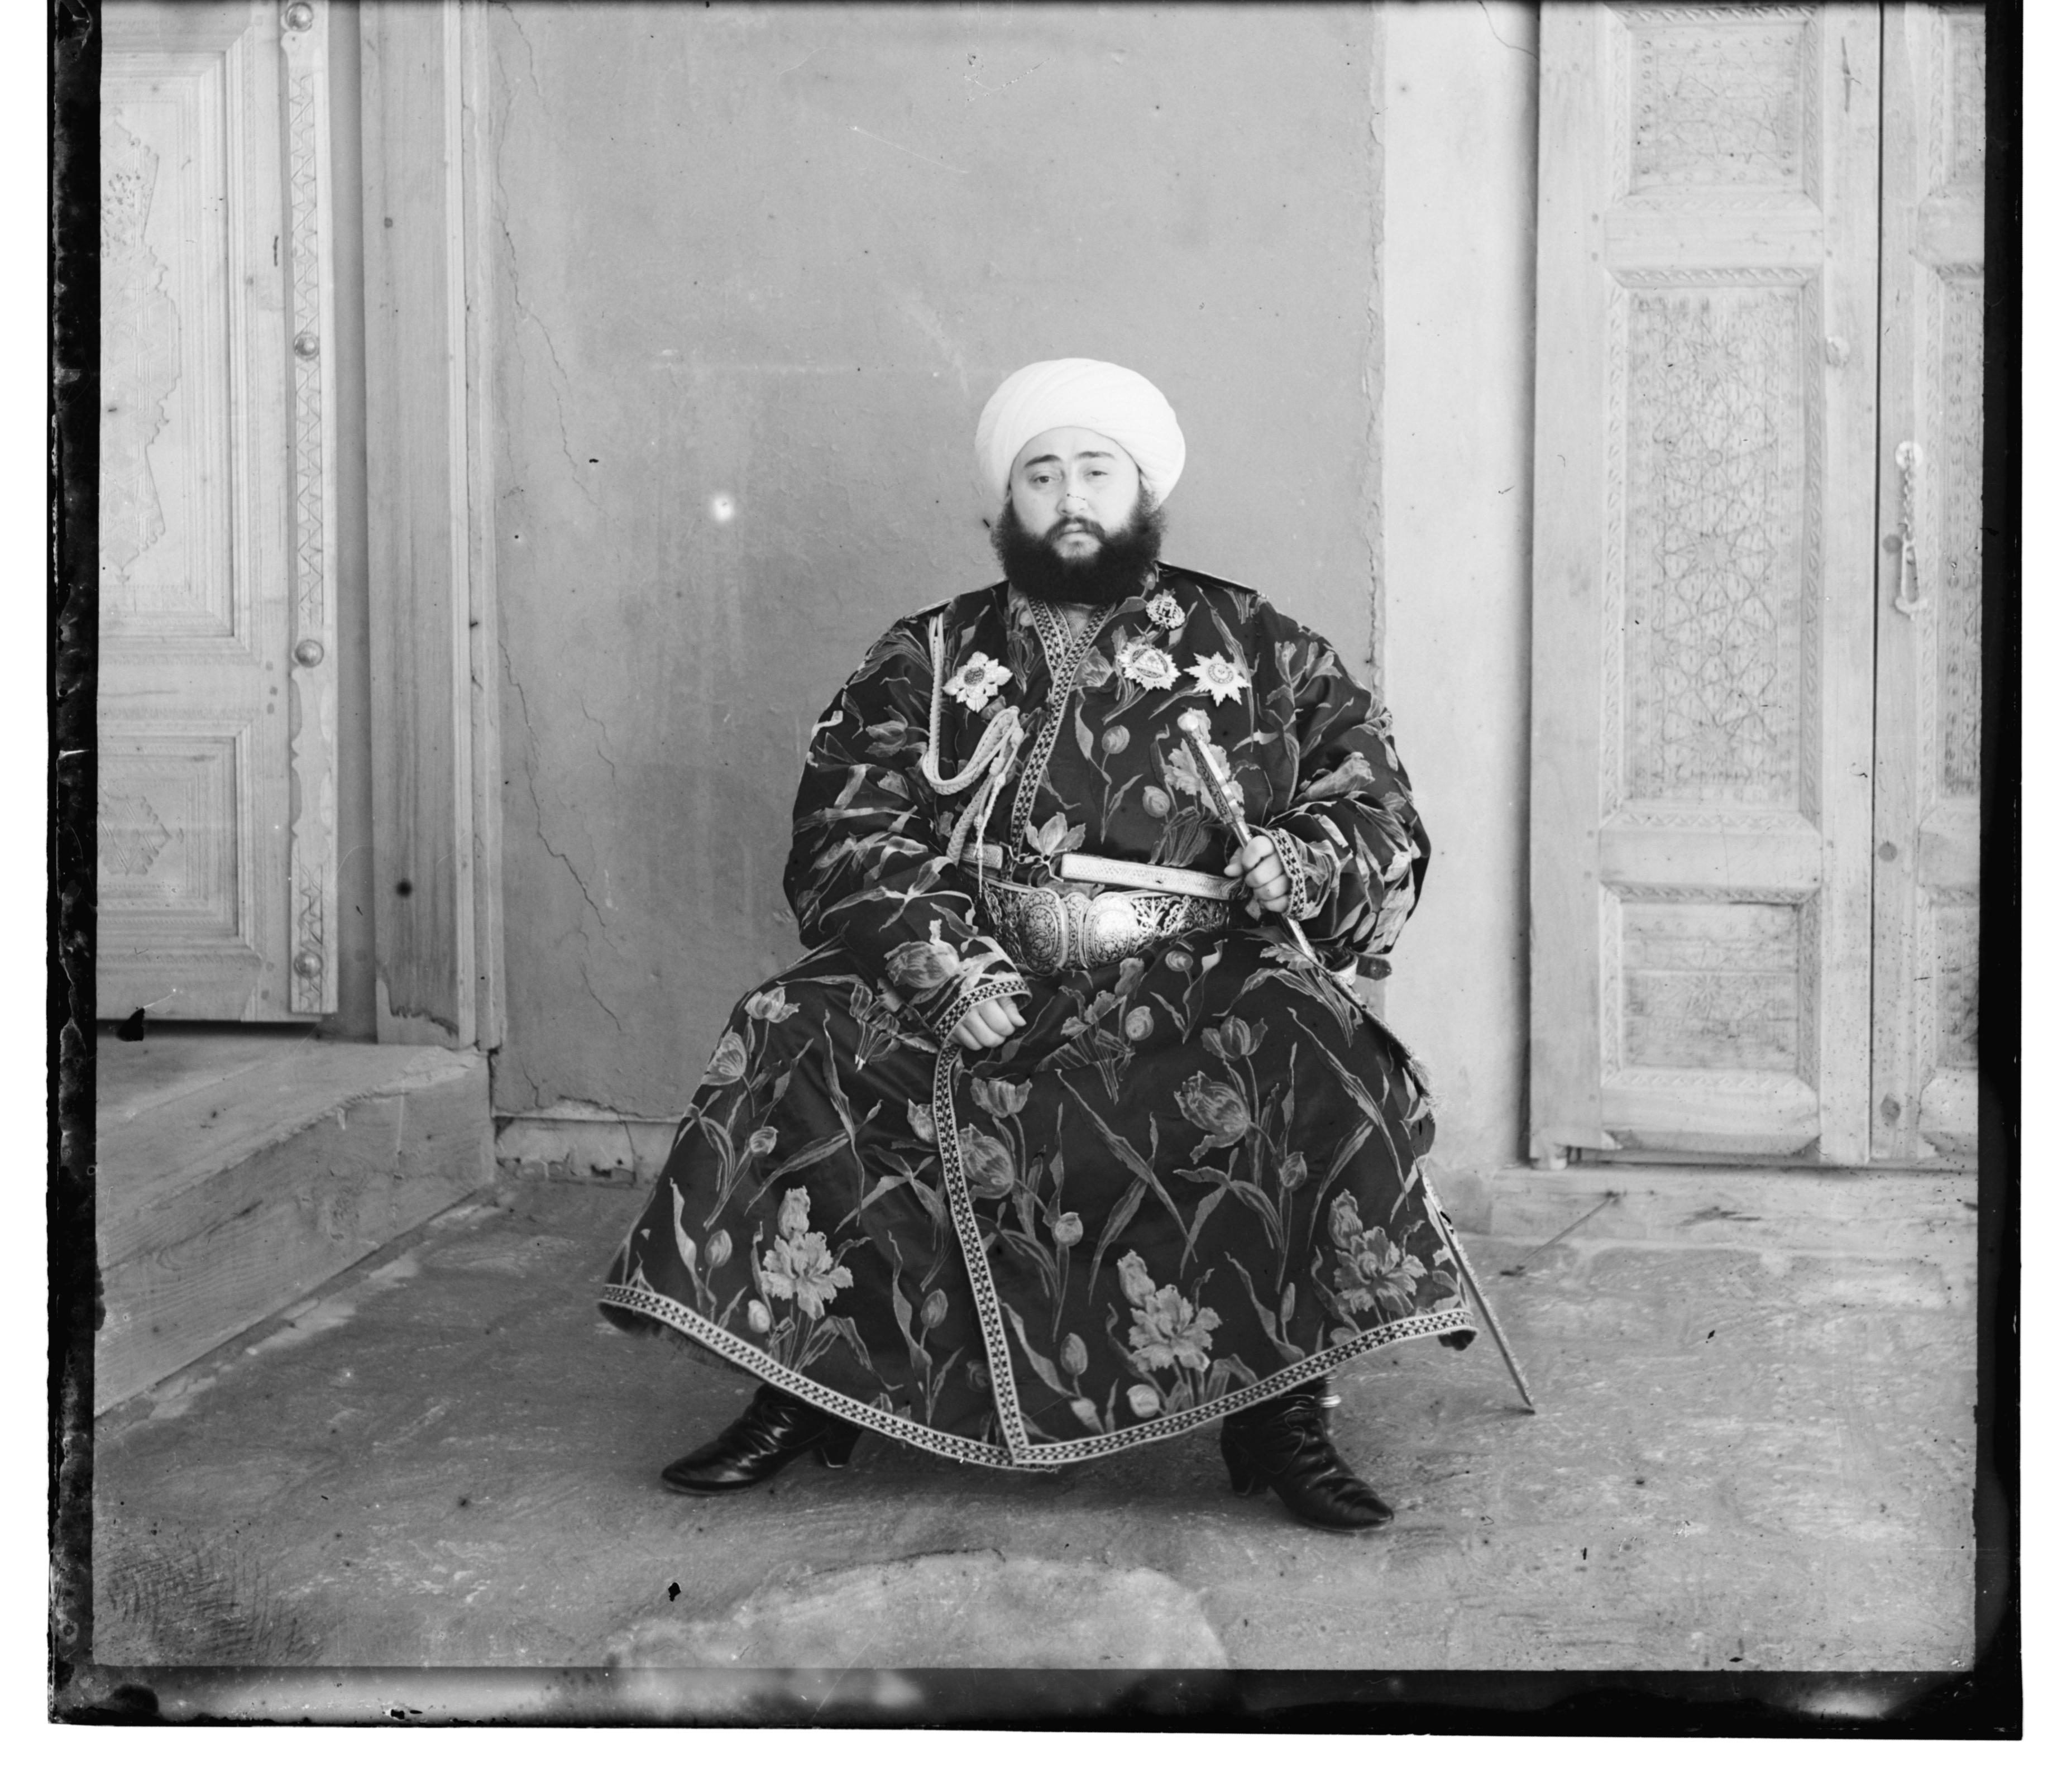
This process is also famously known as the Sobel filter. After applying this filter on the input channels for Emir, this is what is seen:

Now, feeding this through the algorithm and applying the resulting displacement vector yields the following, beautiful image:
Results
Now to view the results of all my hard work :)
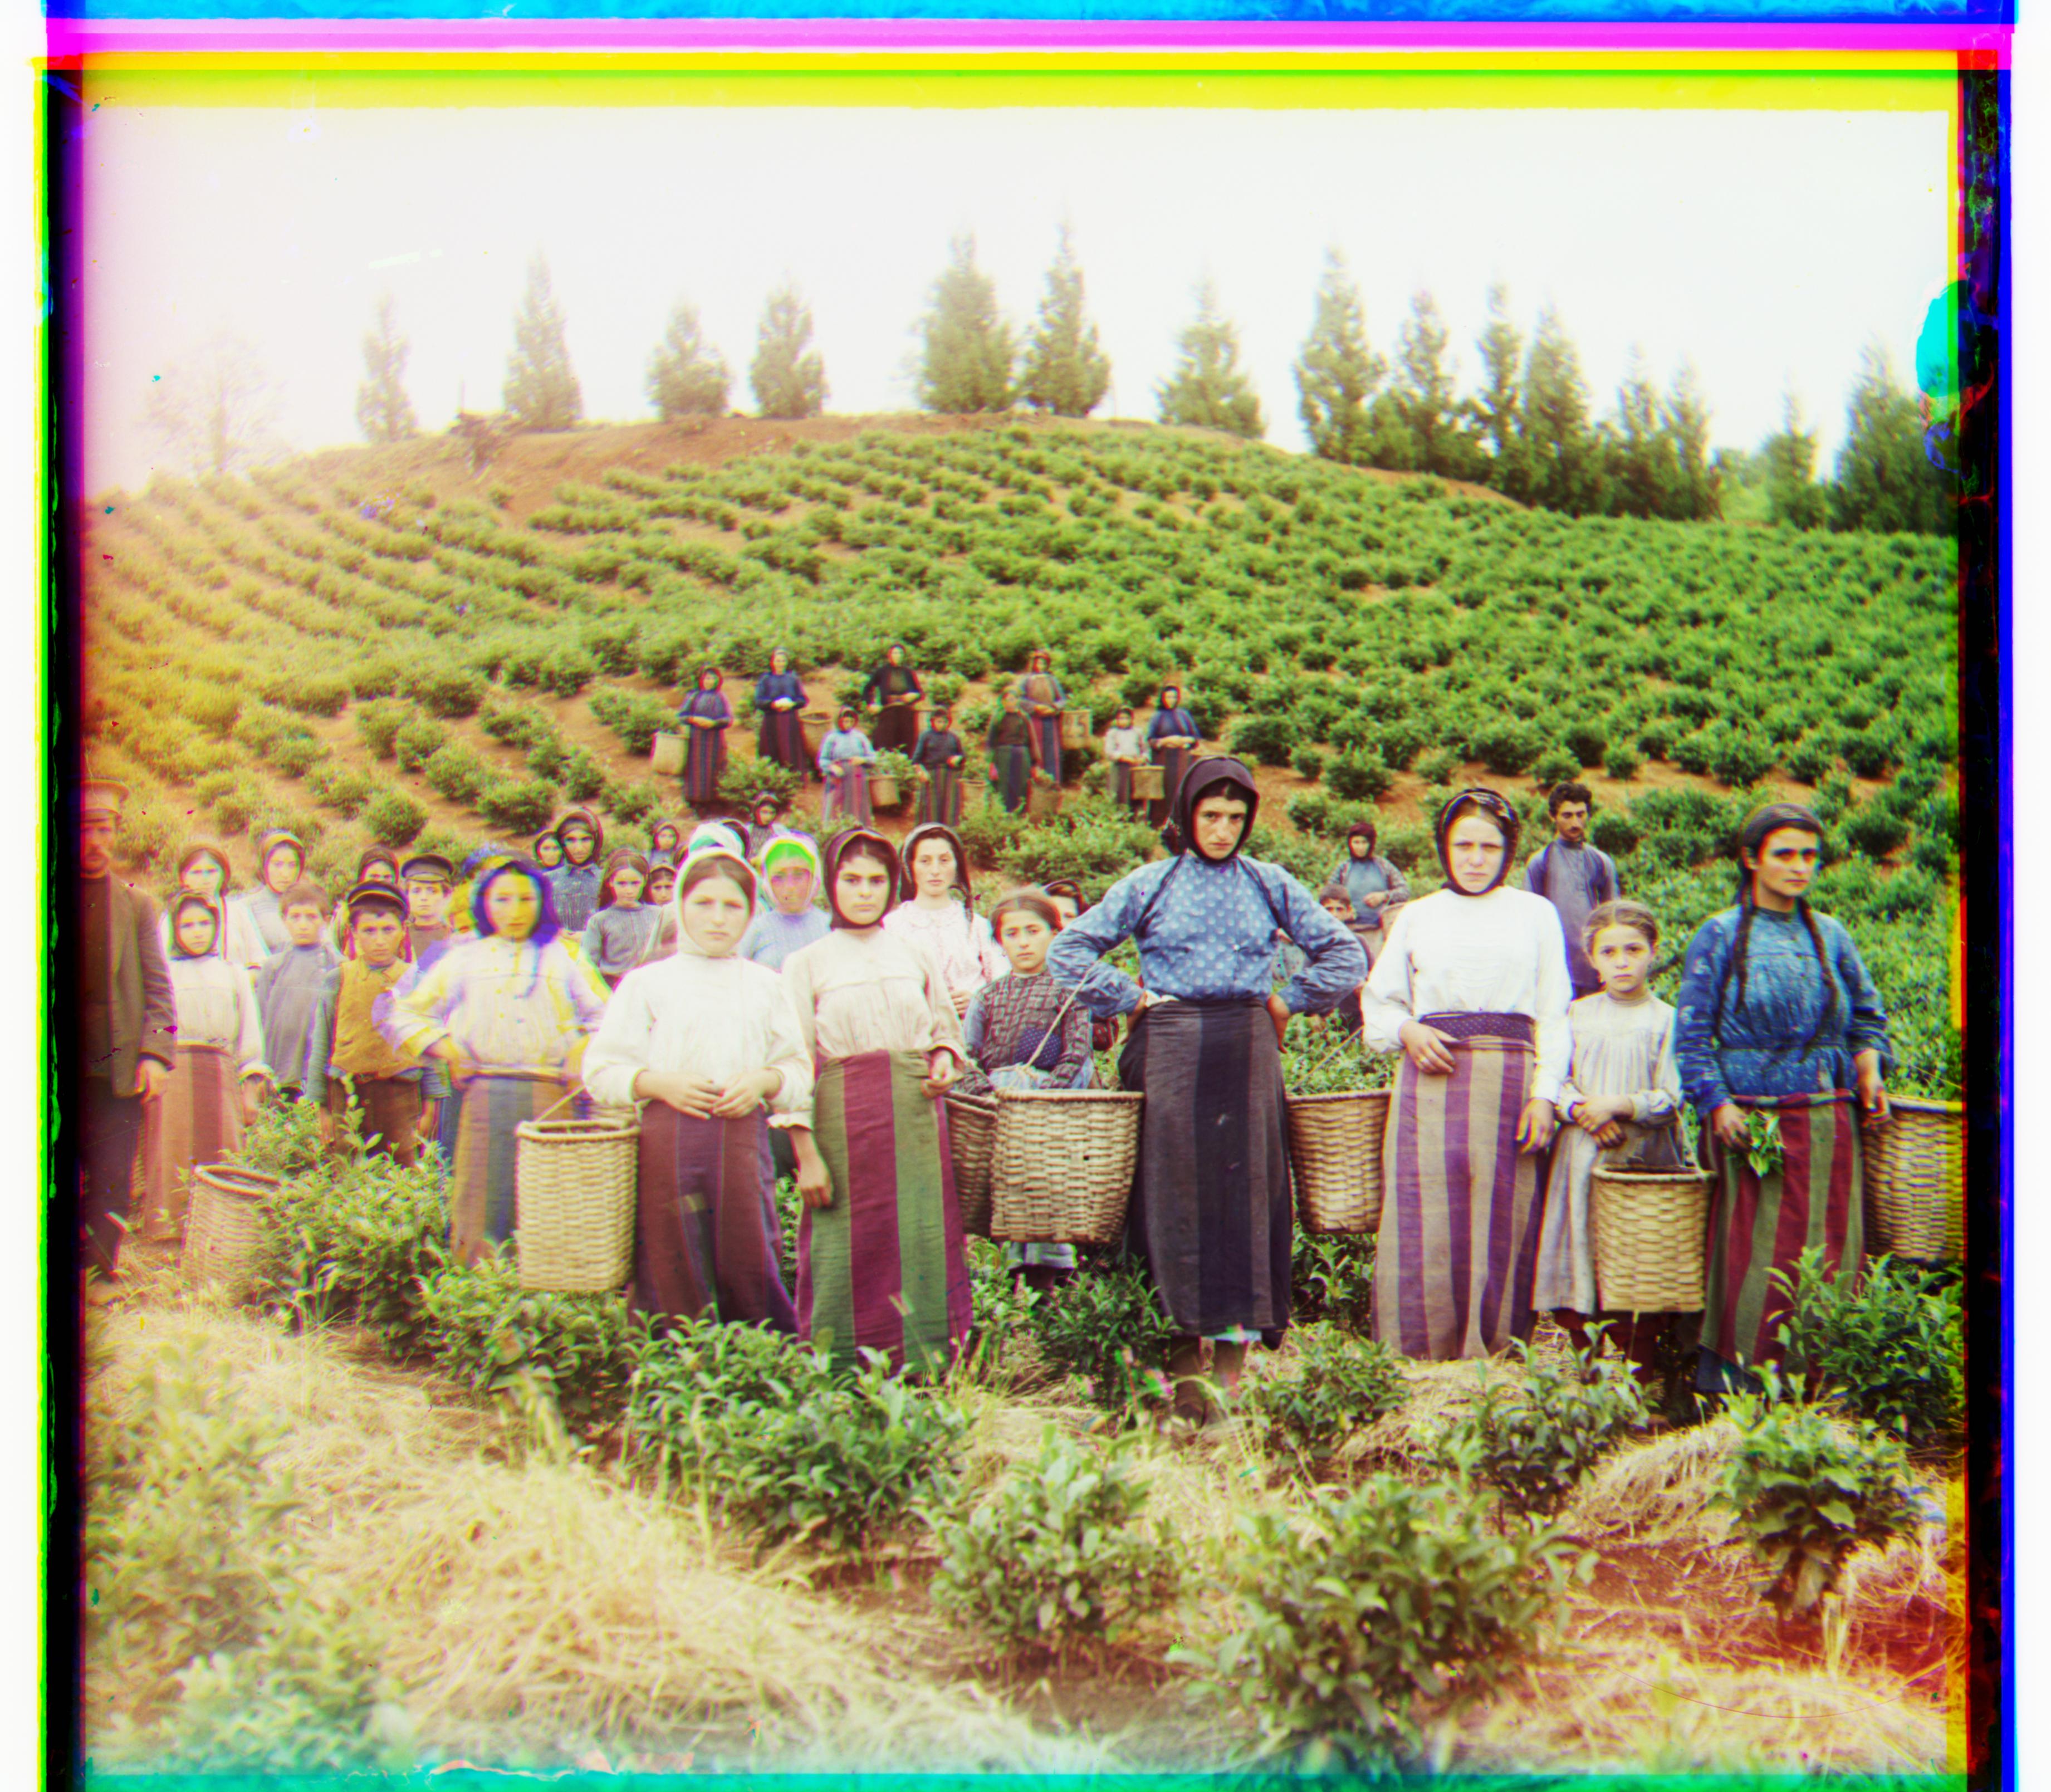
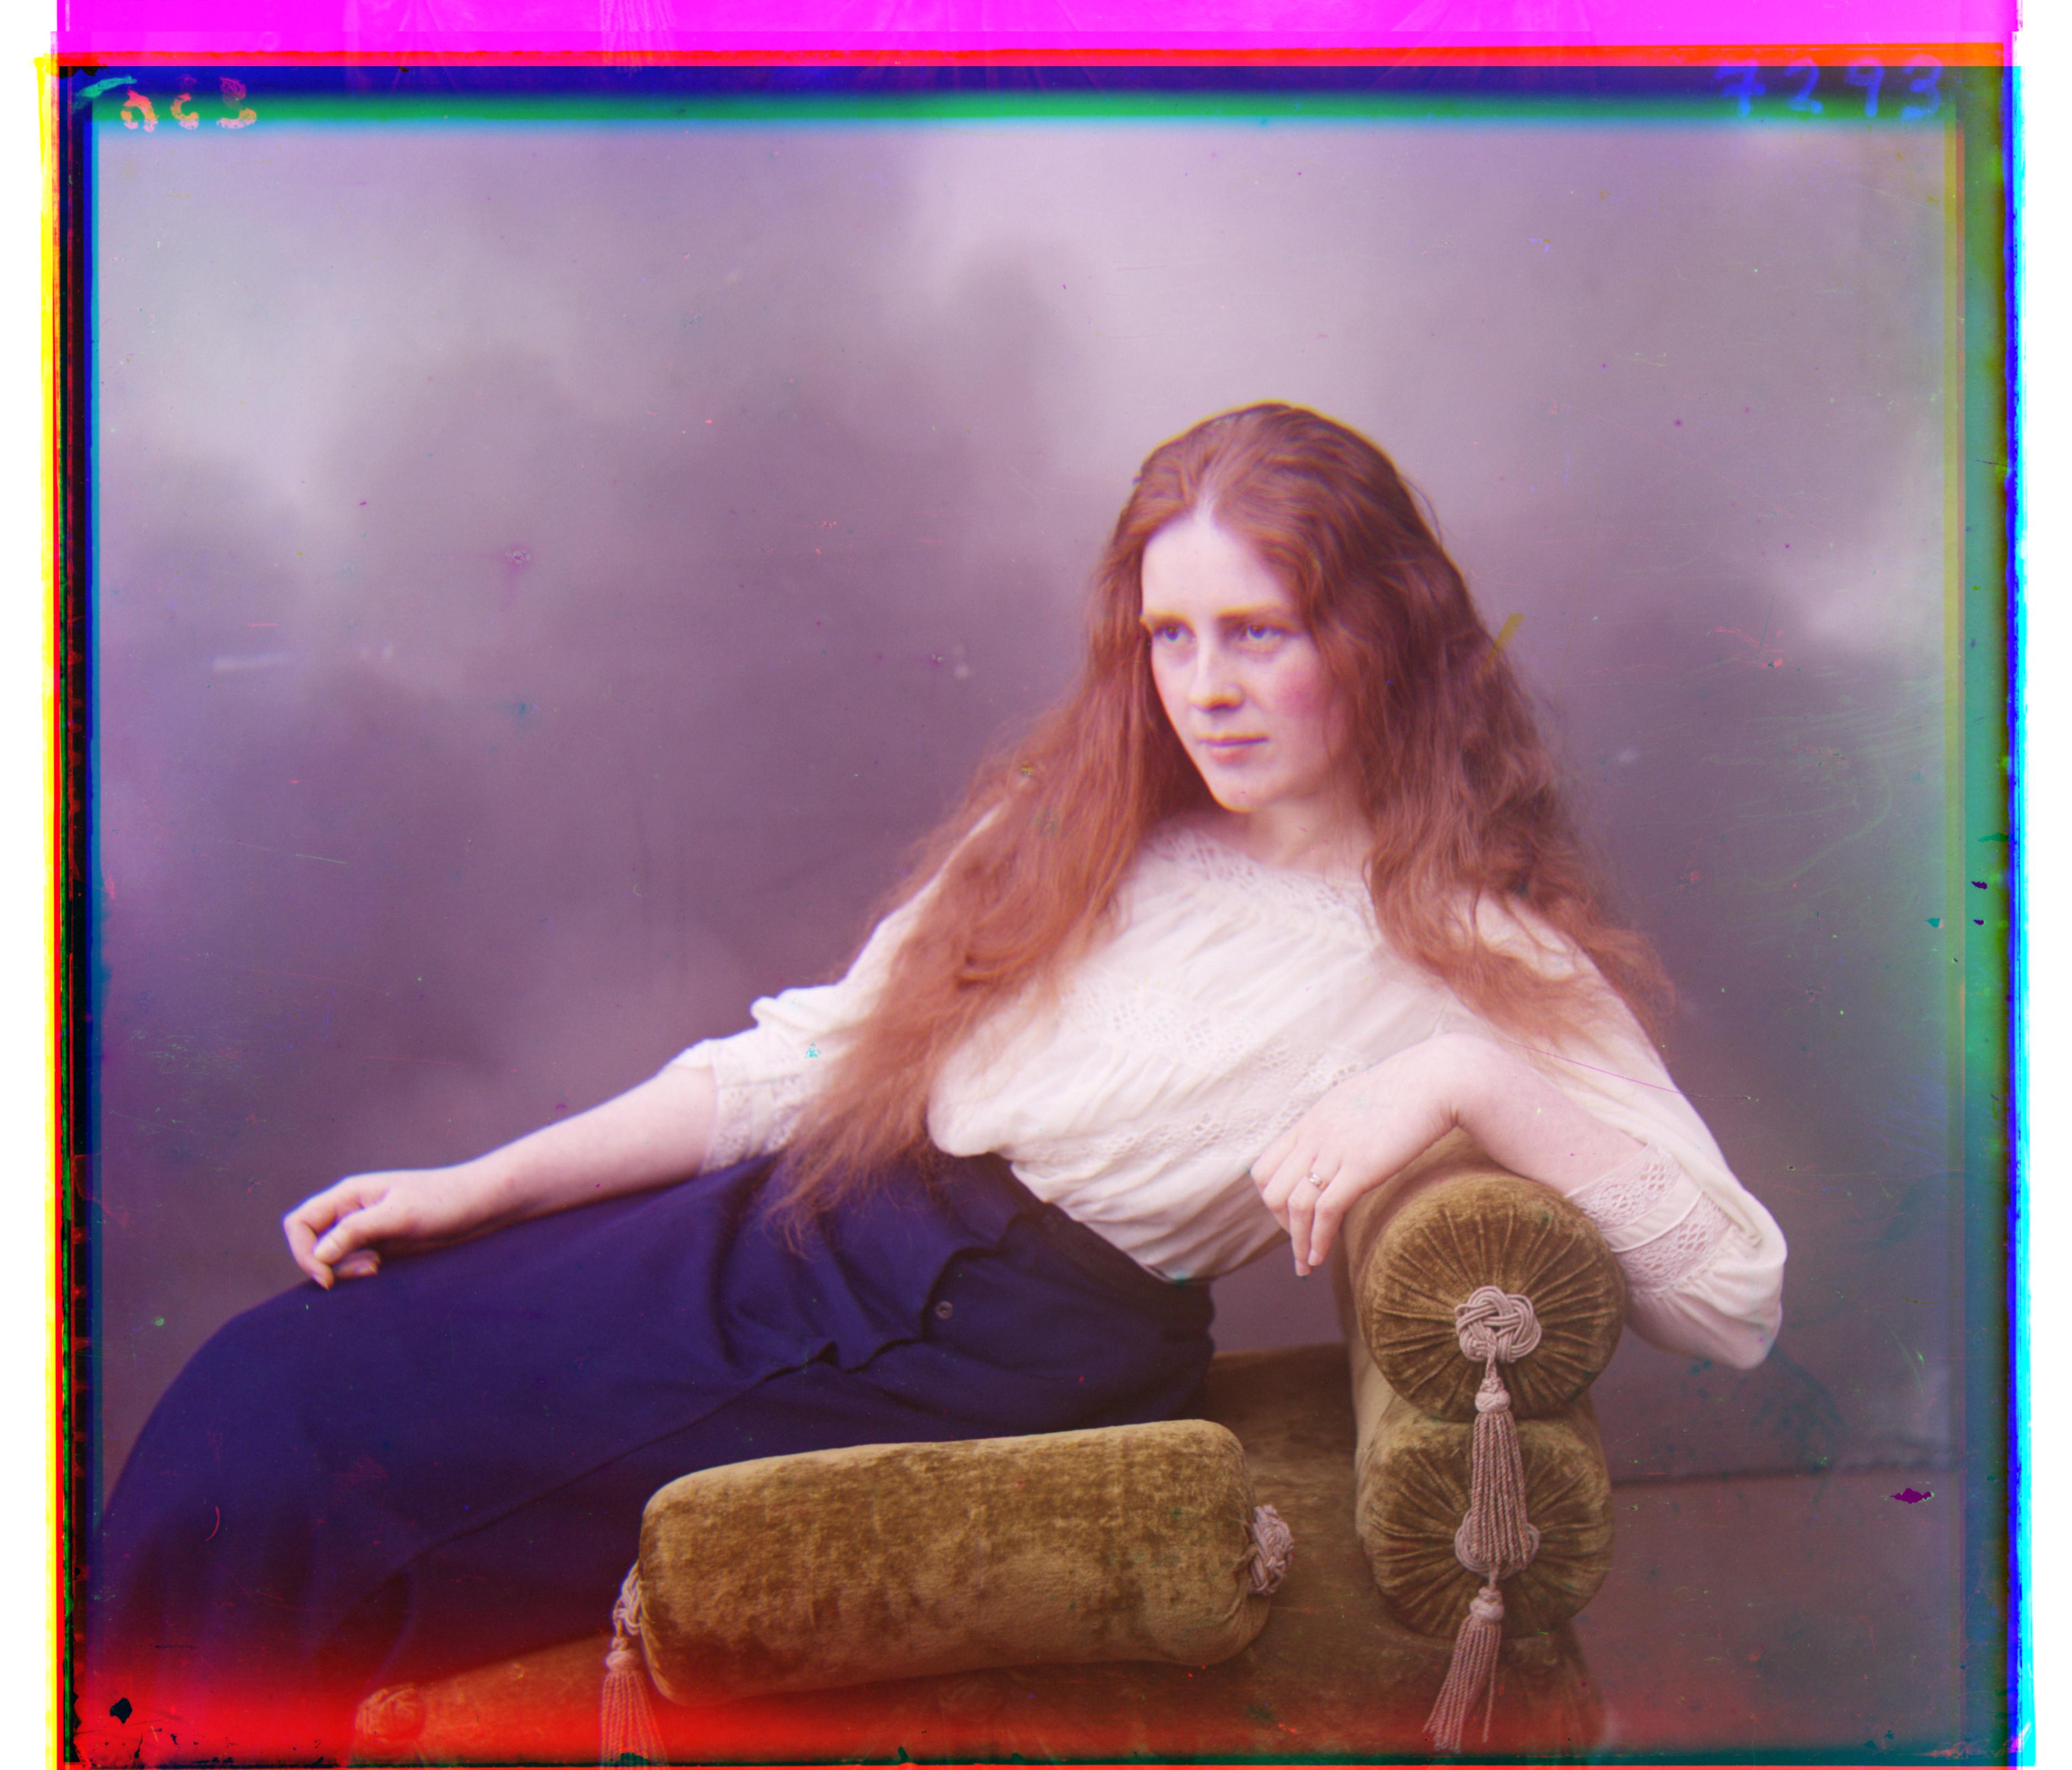
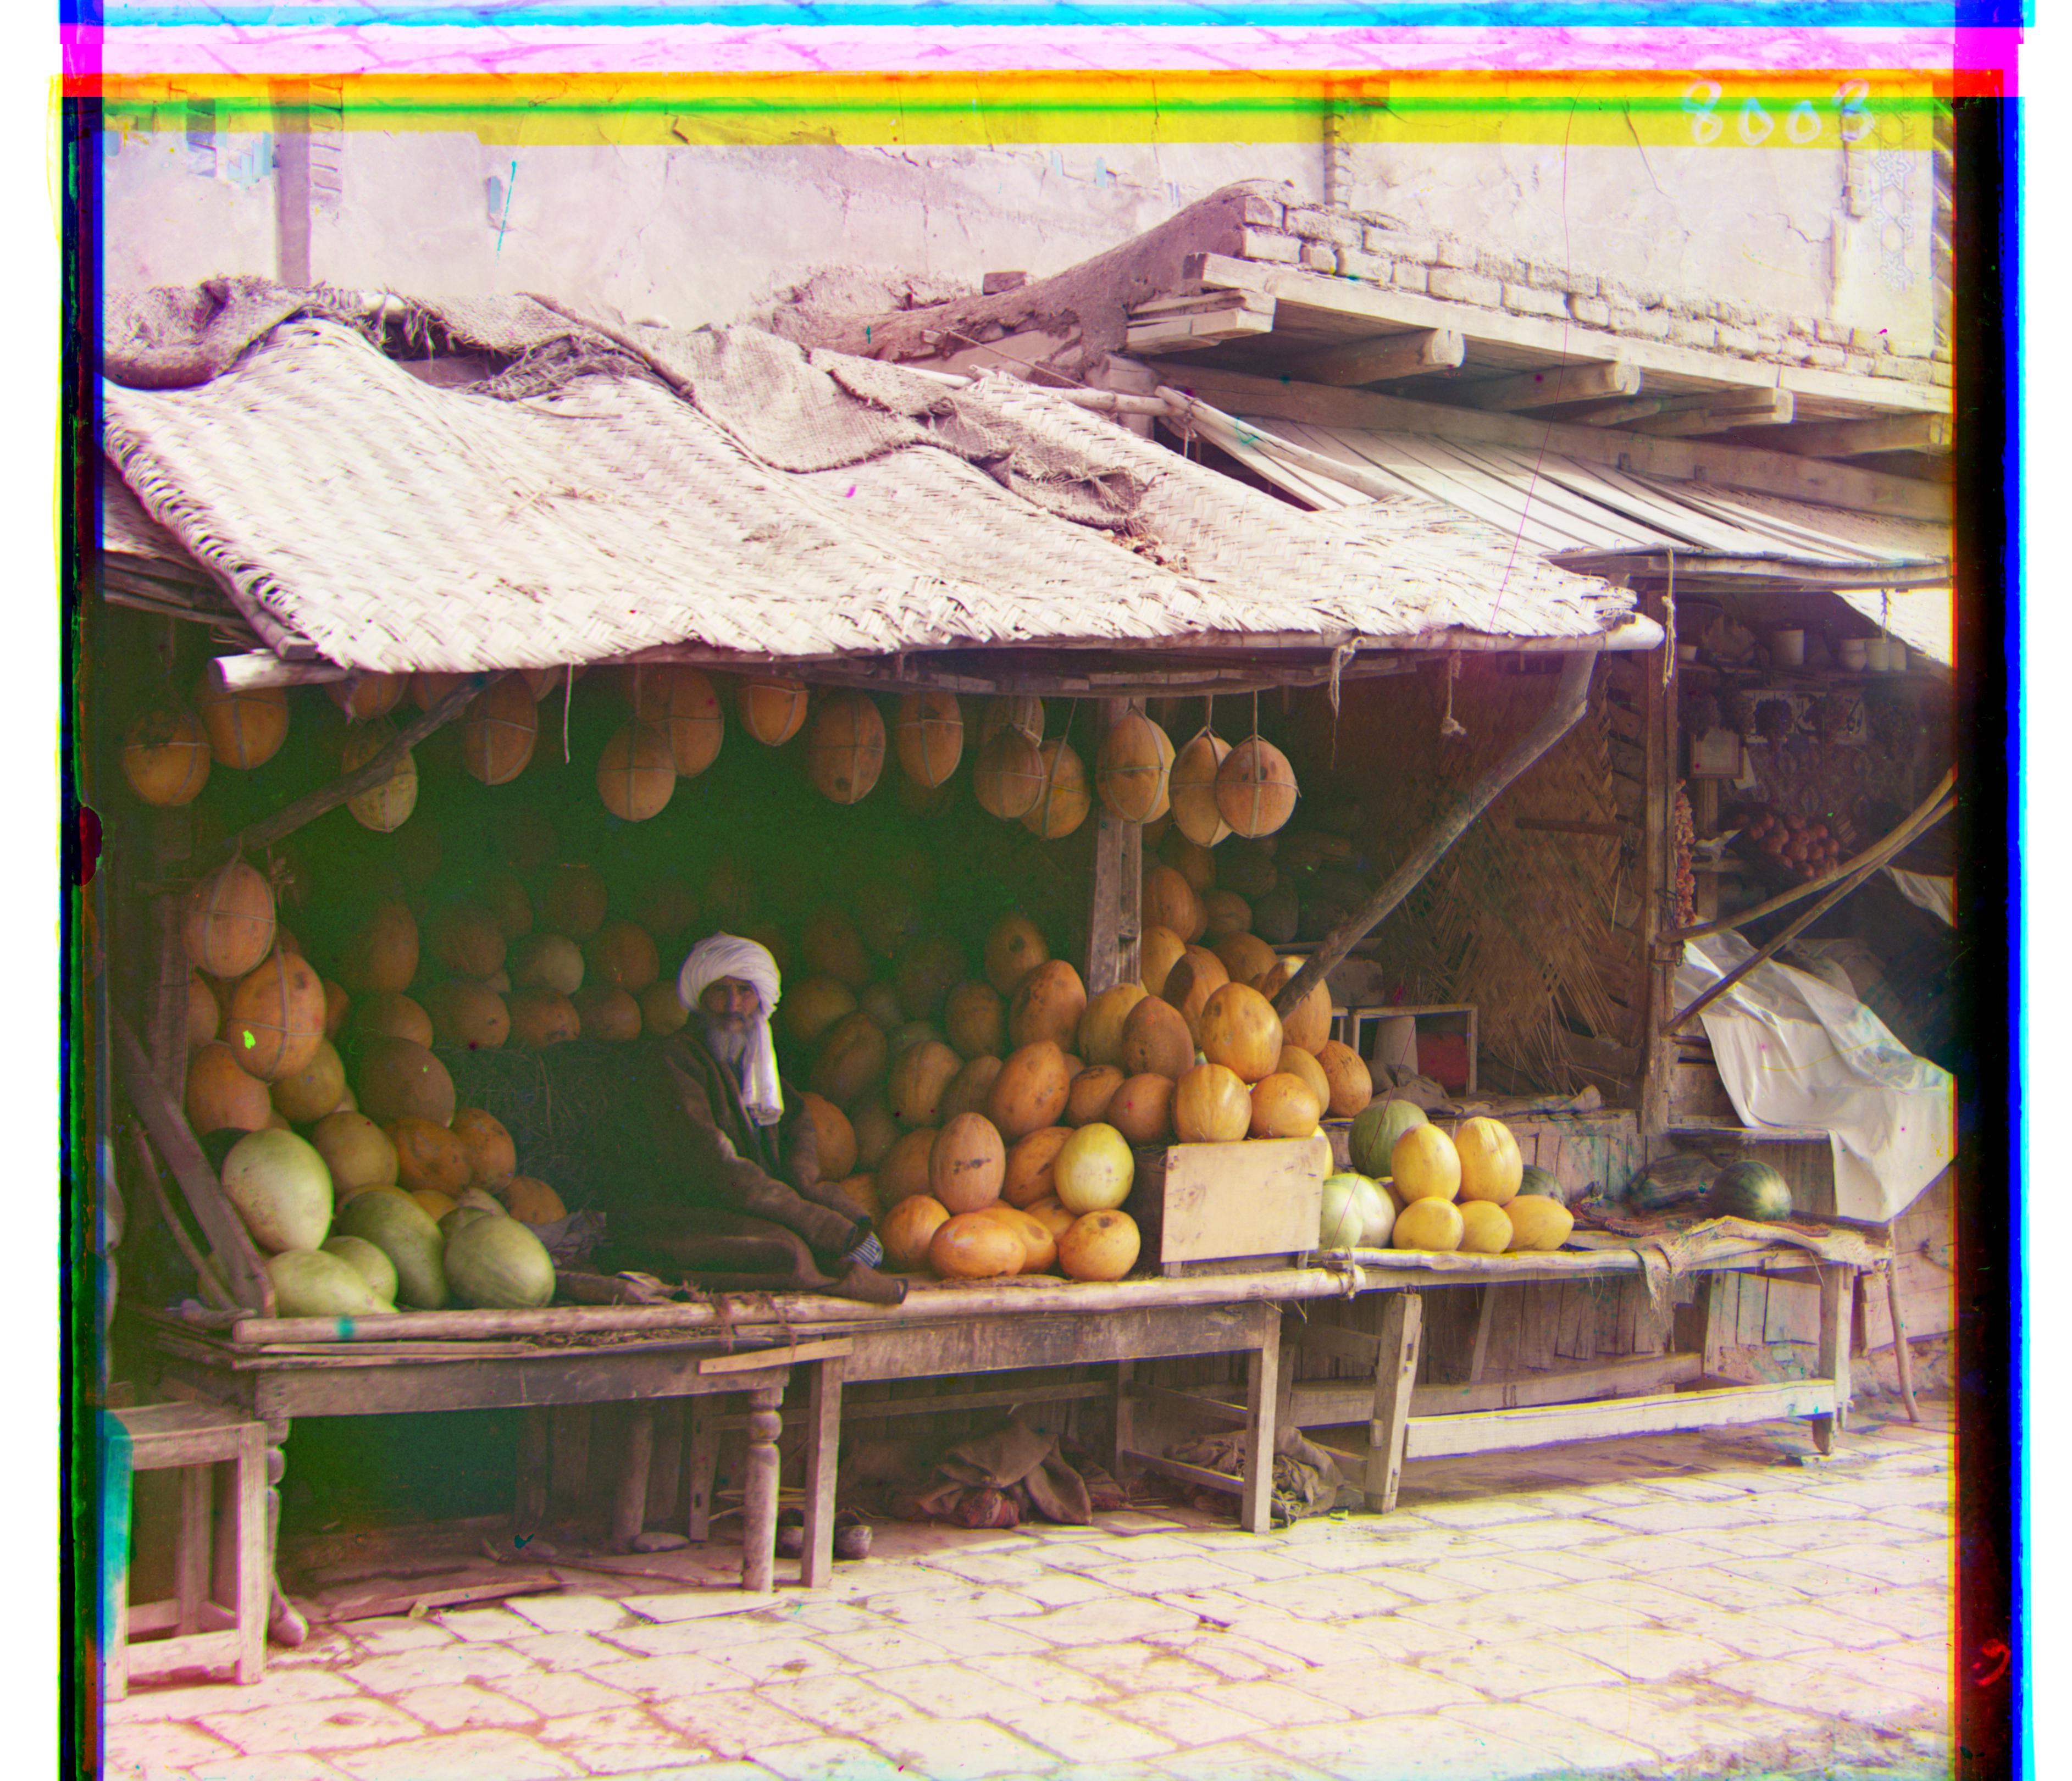
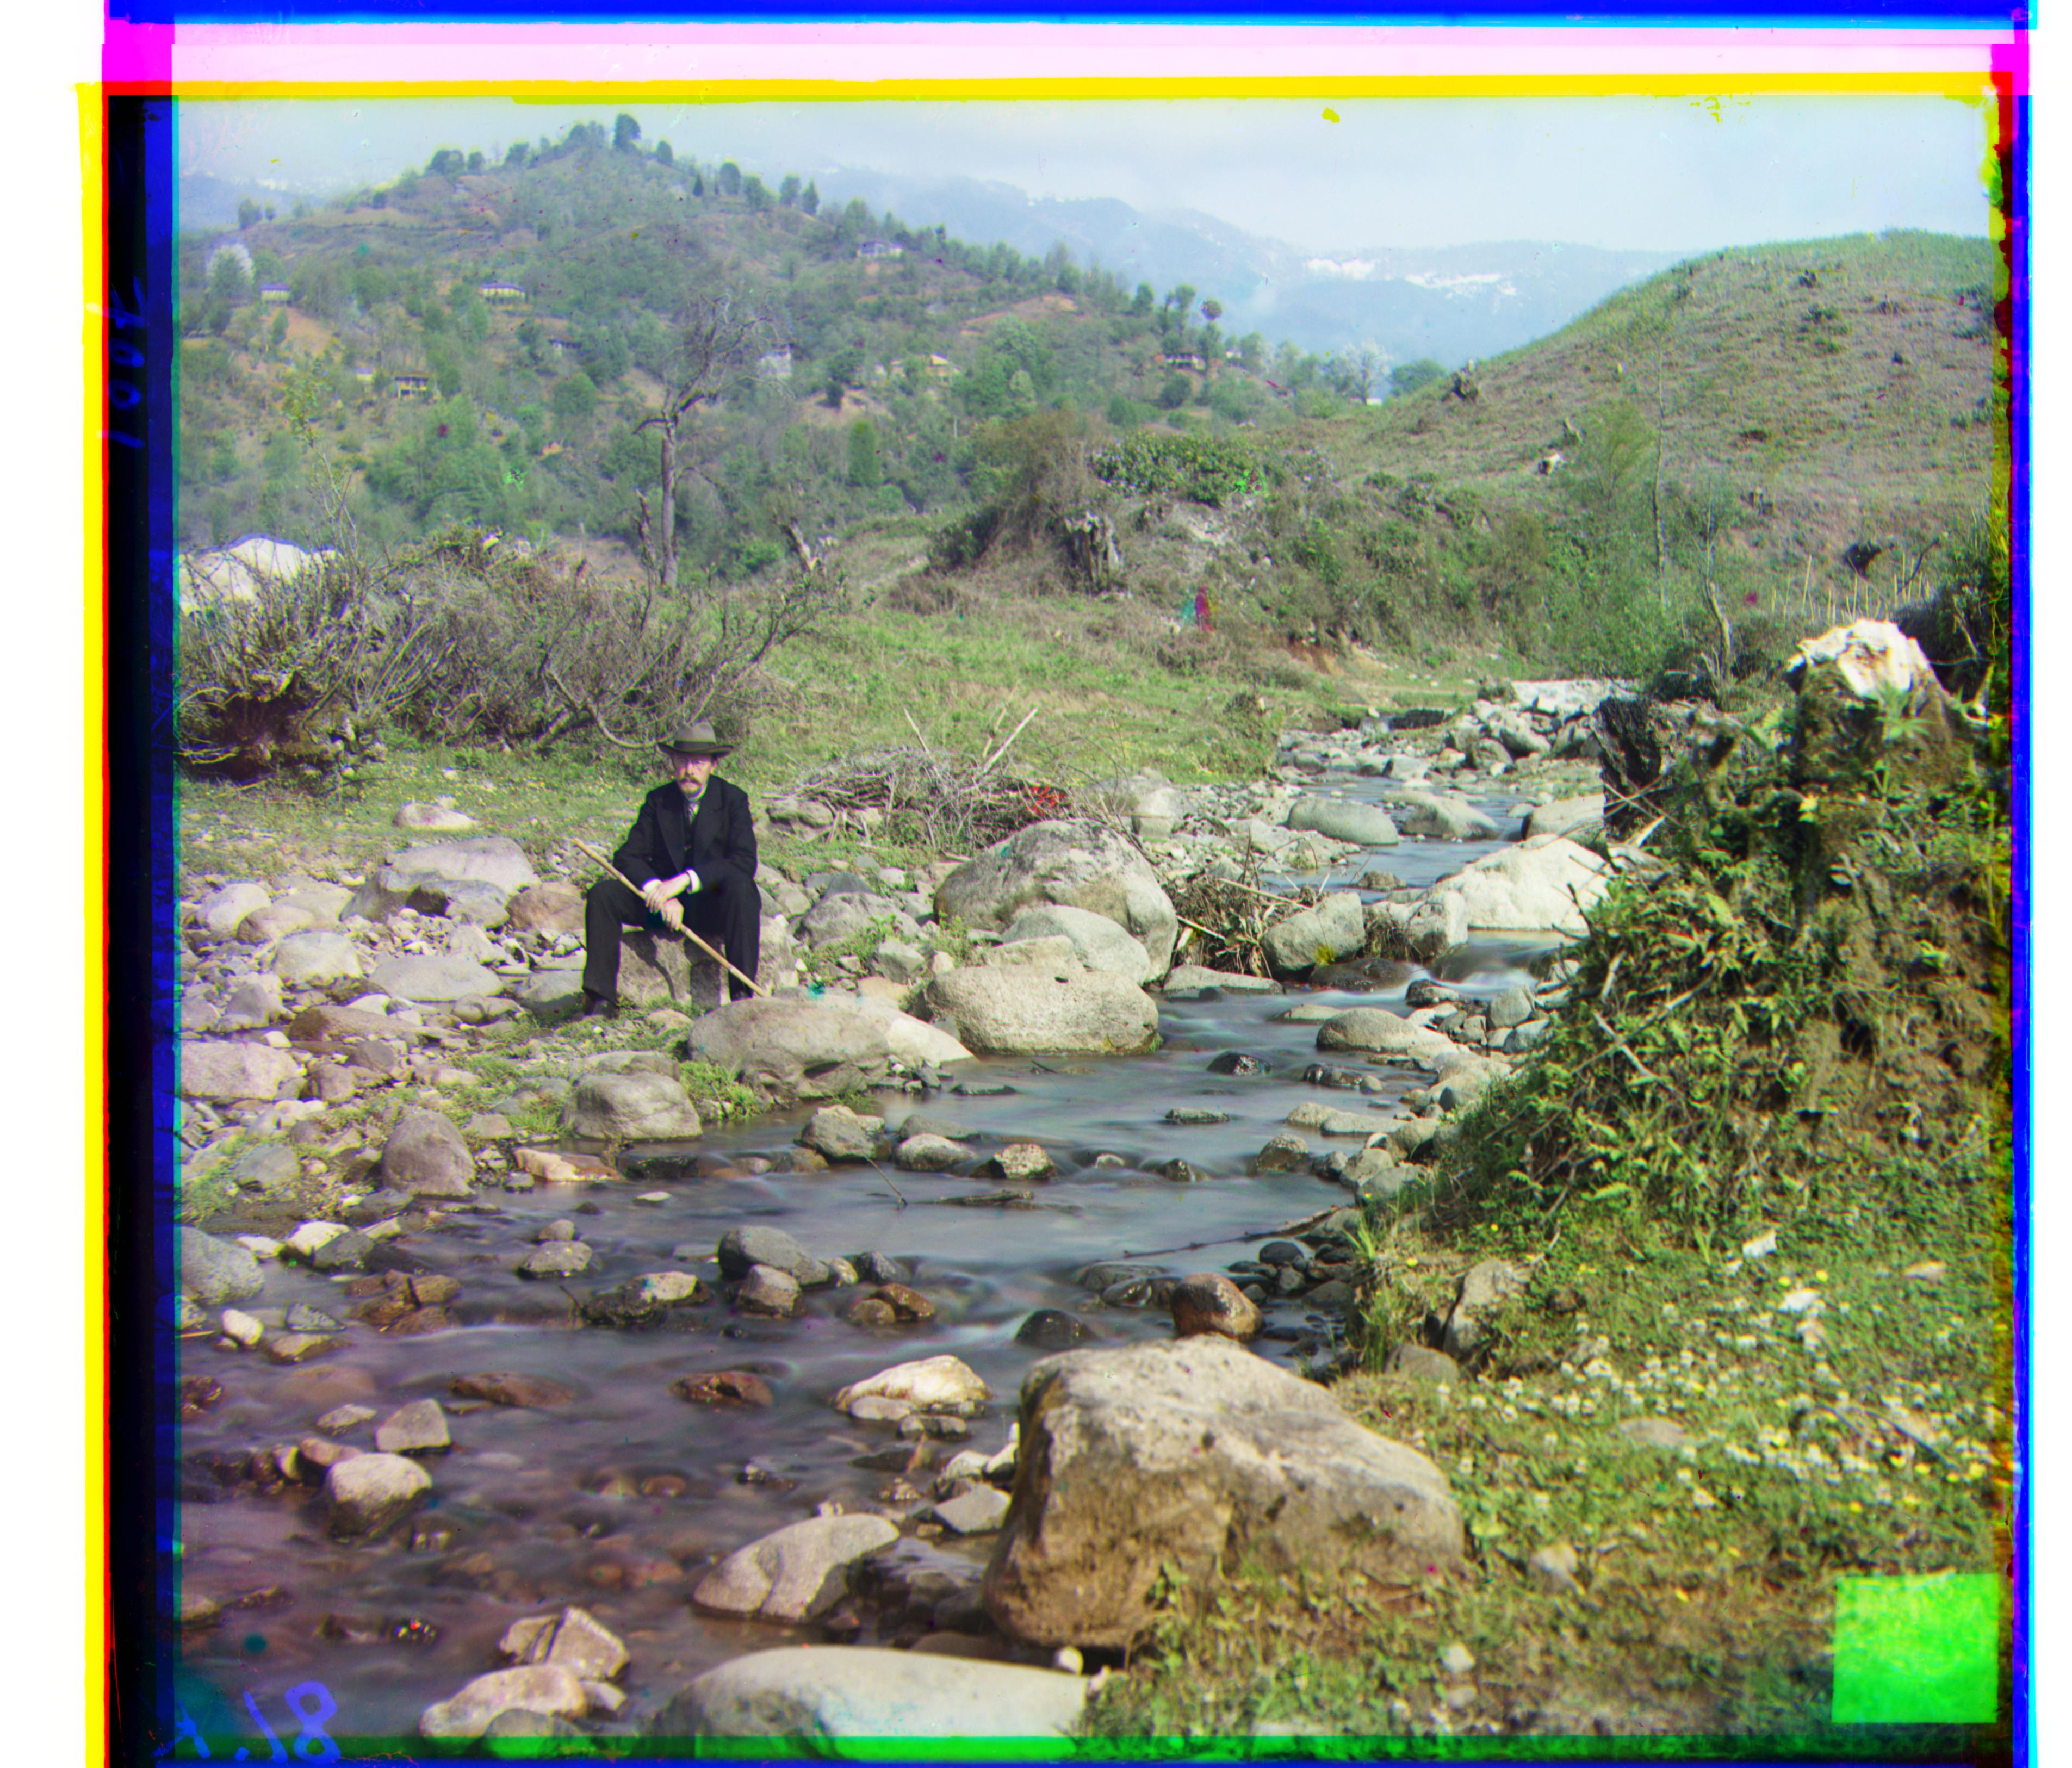
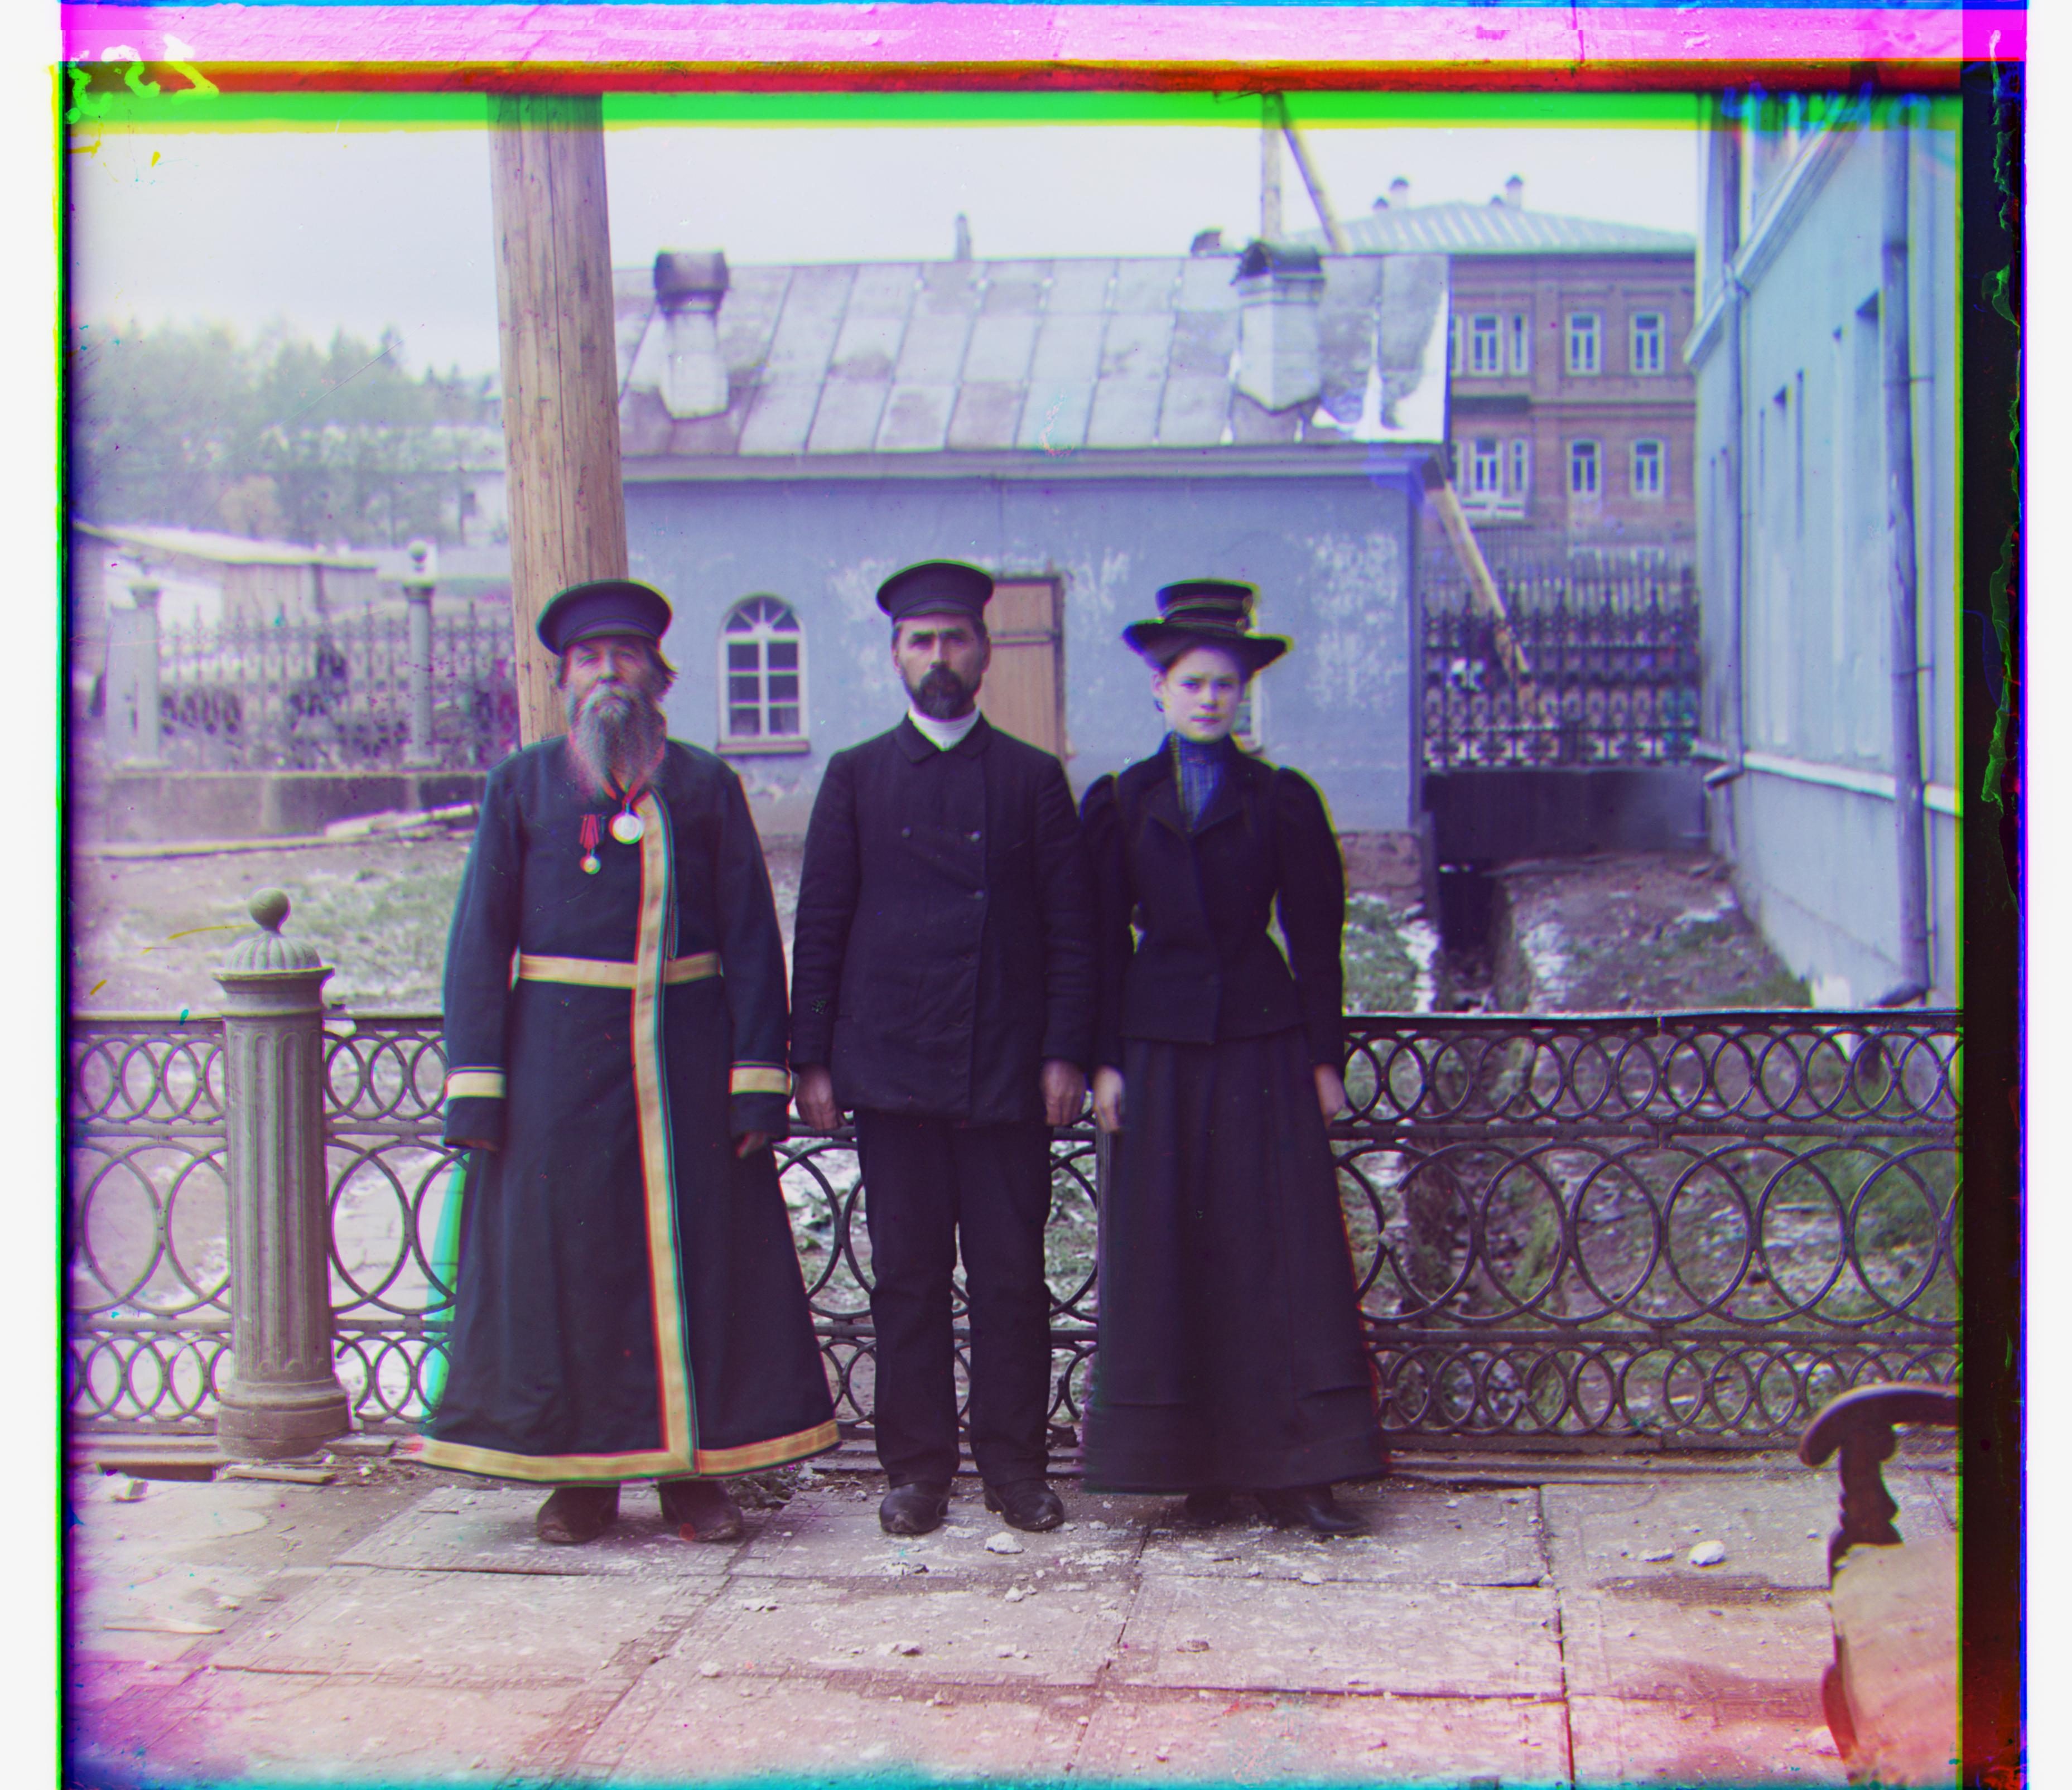

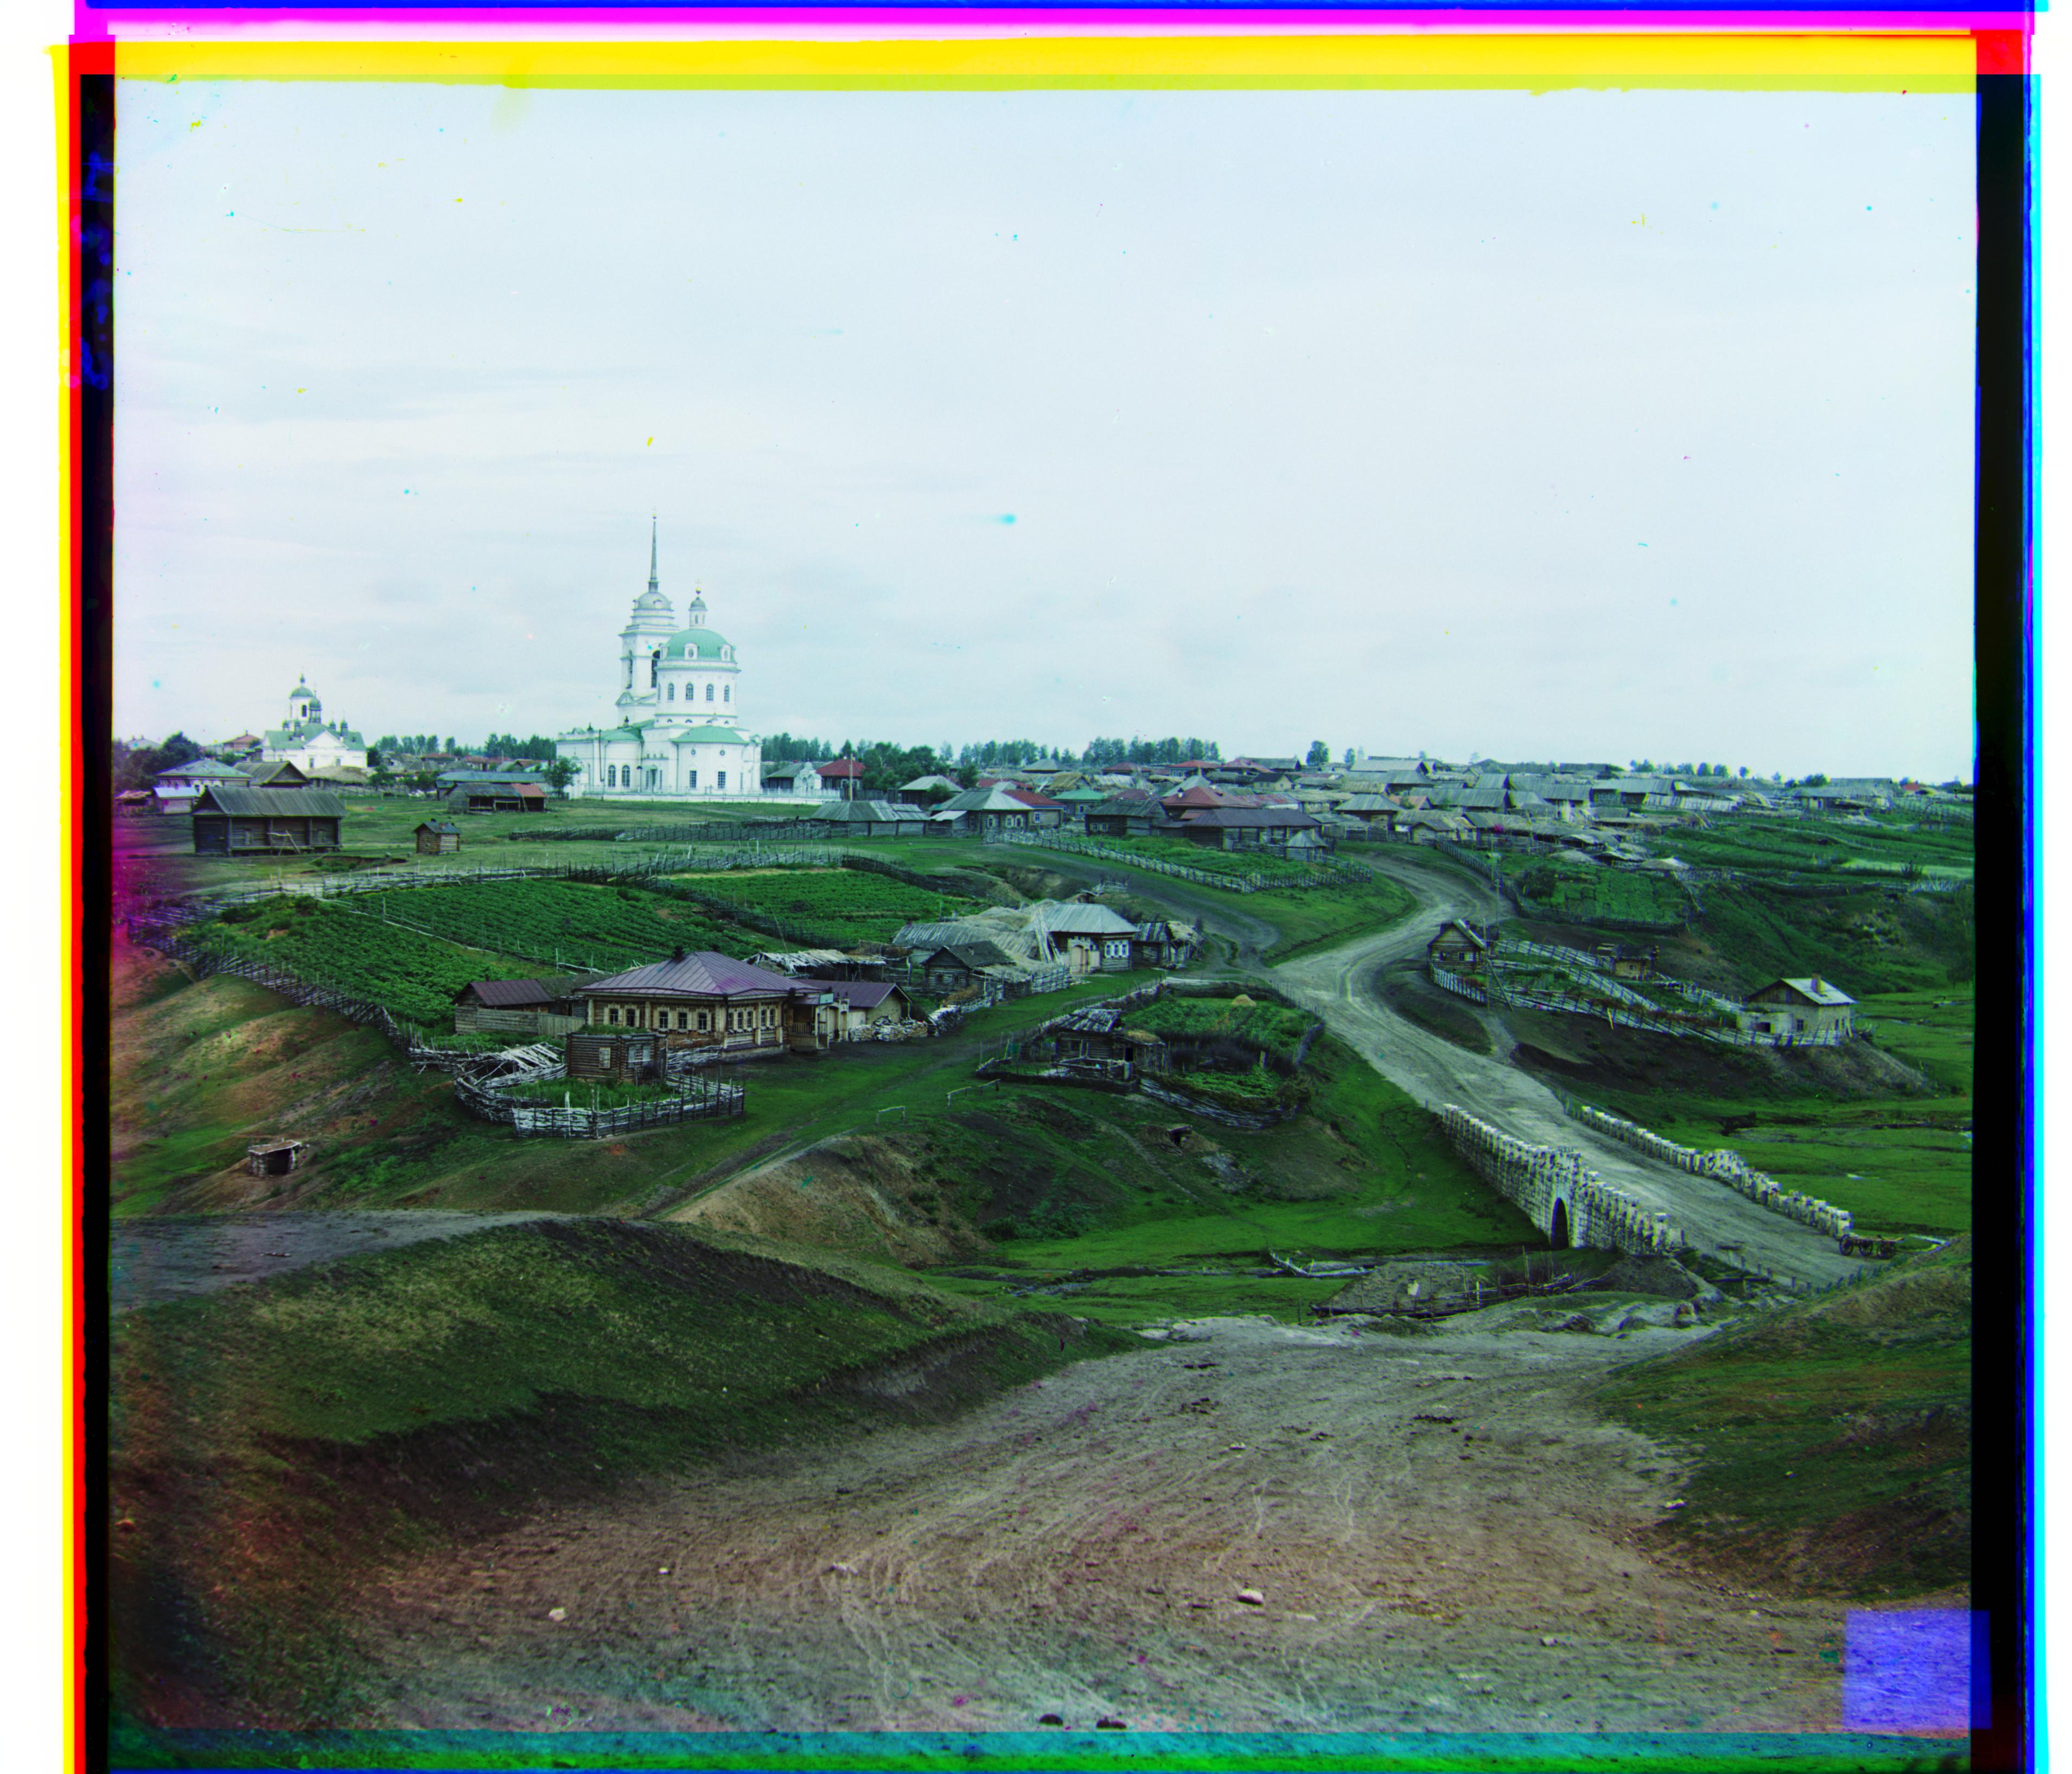
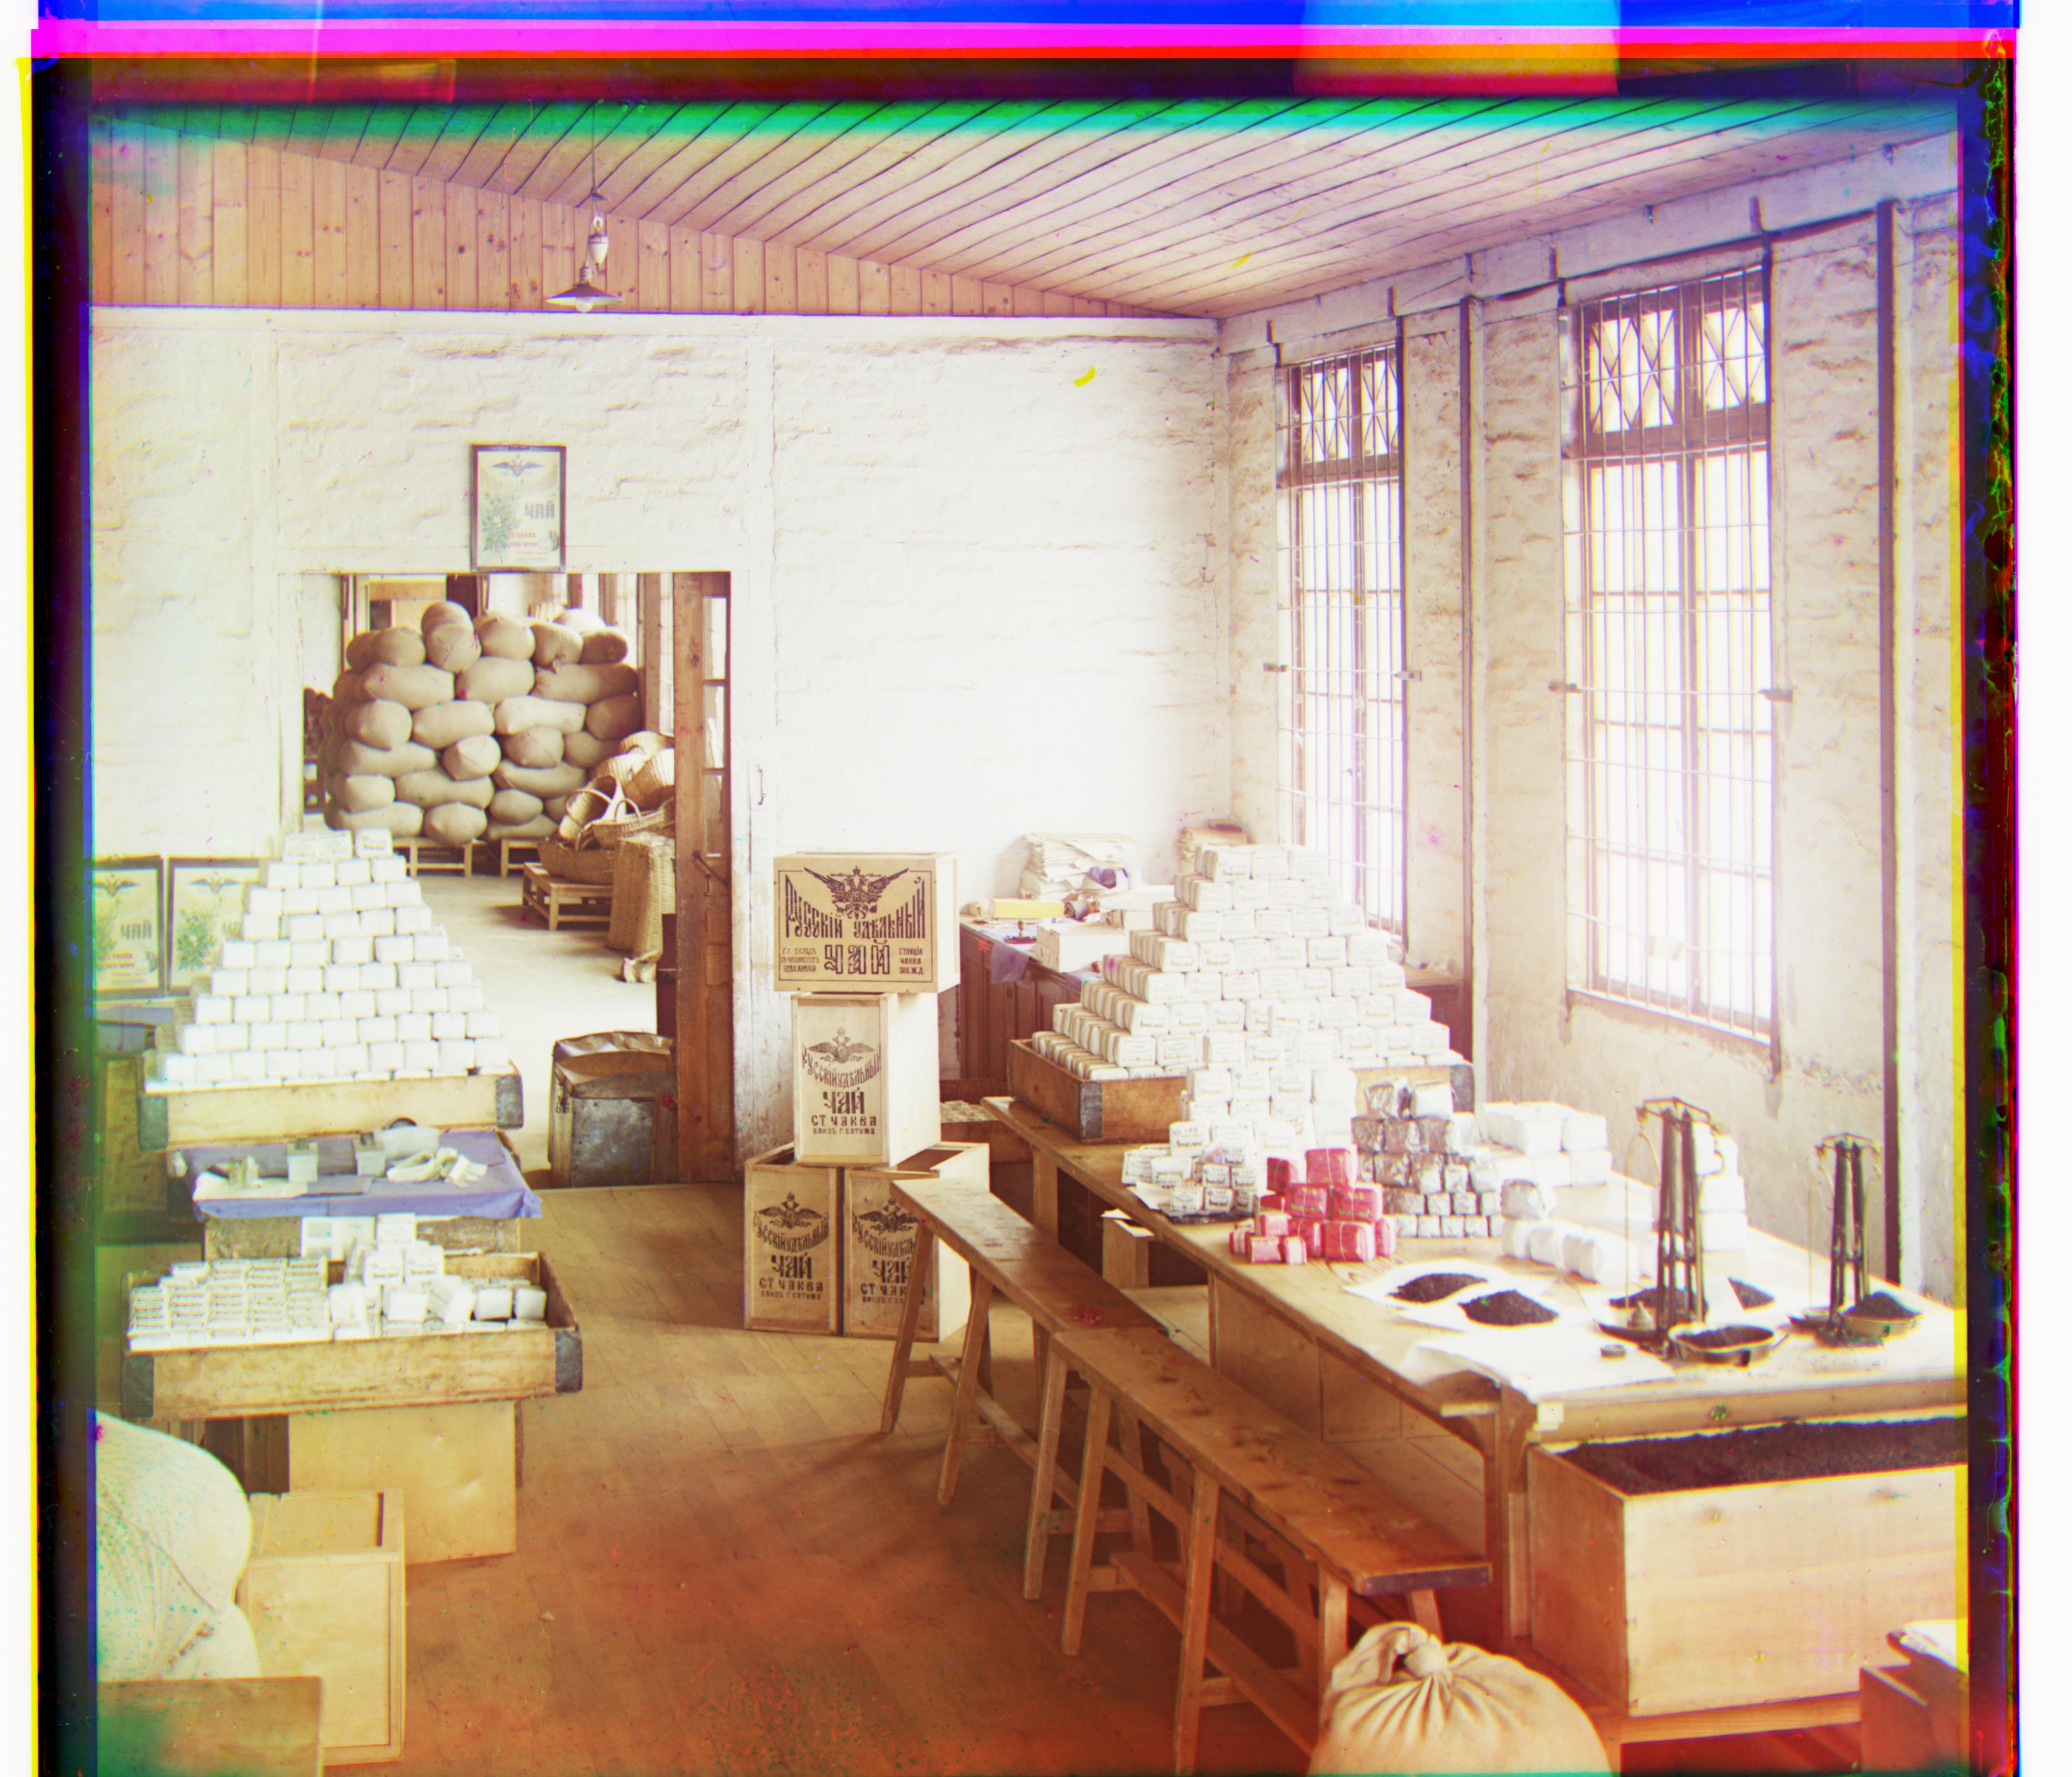
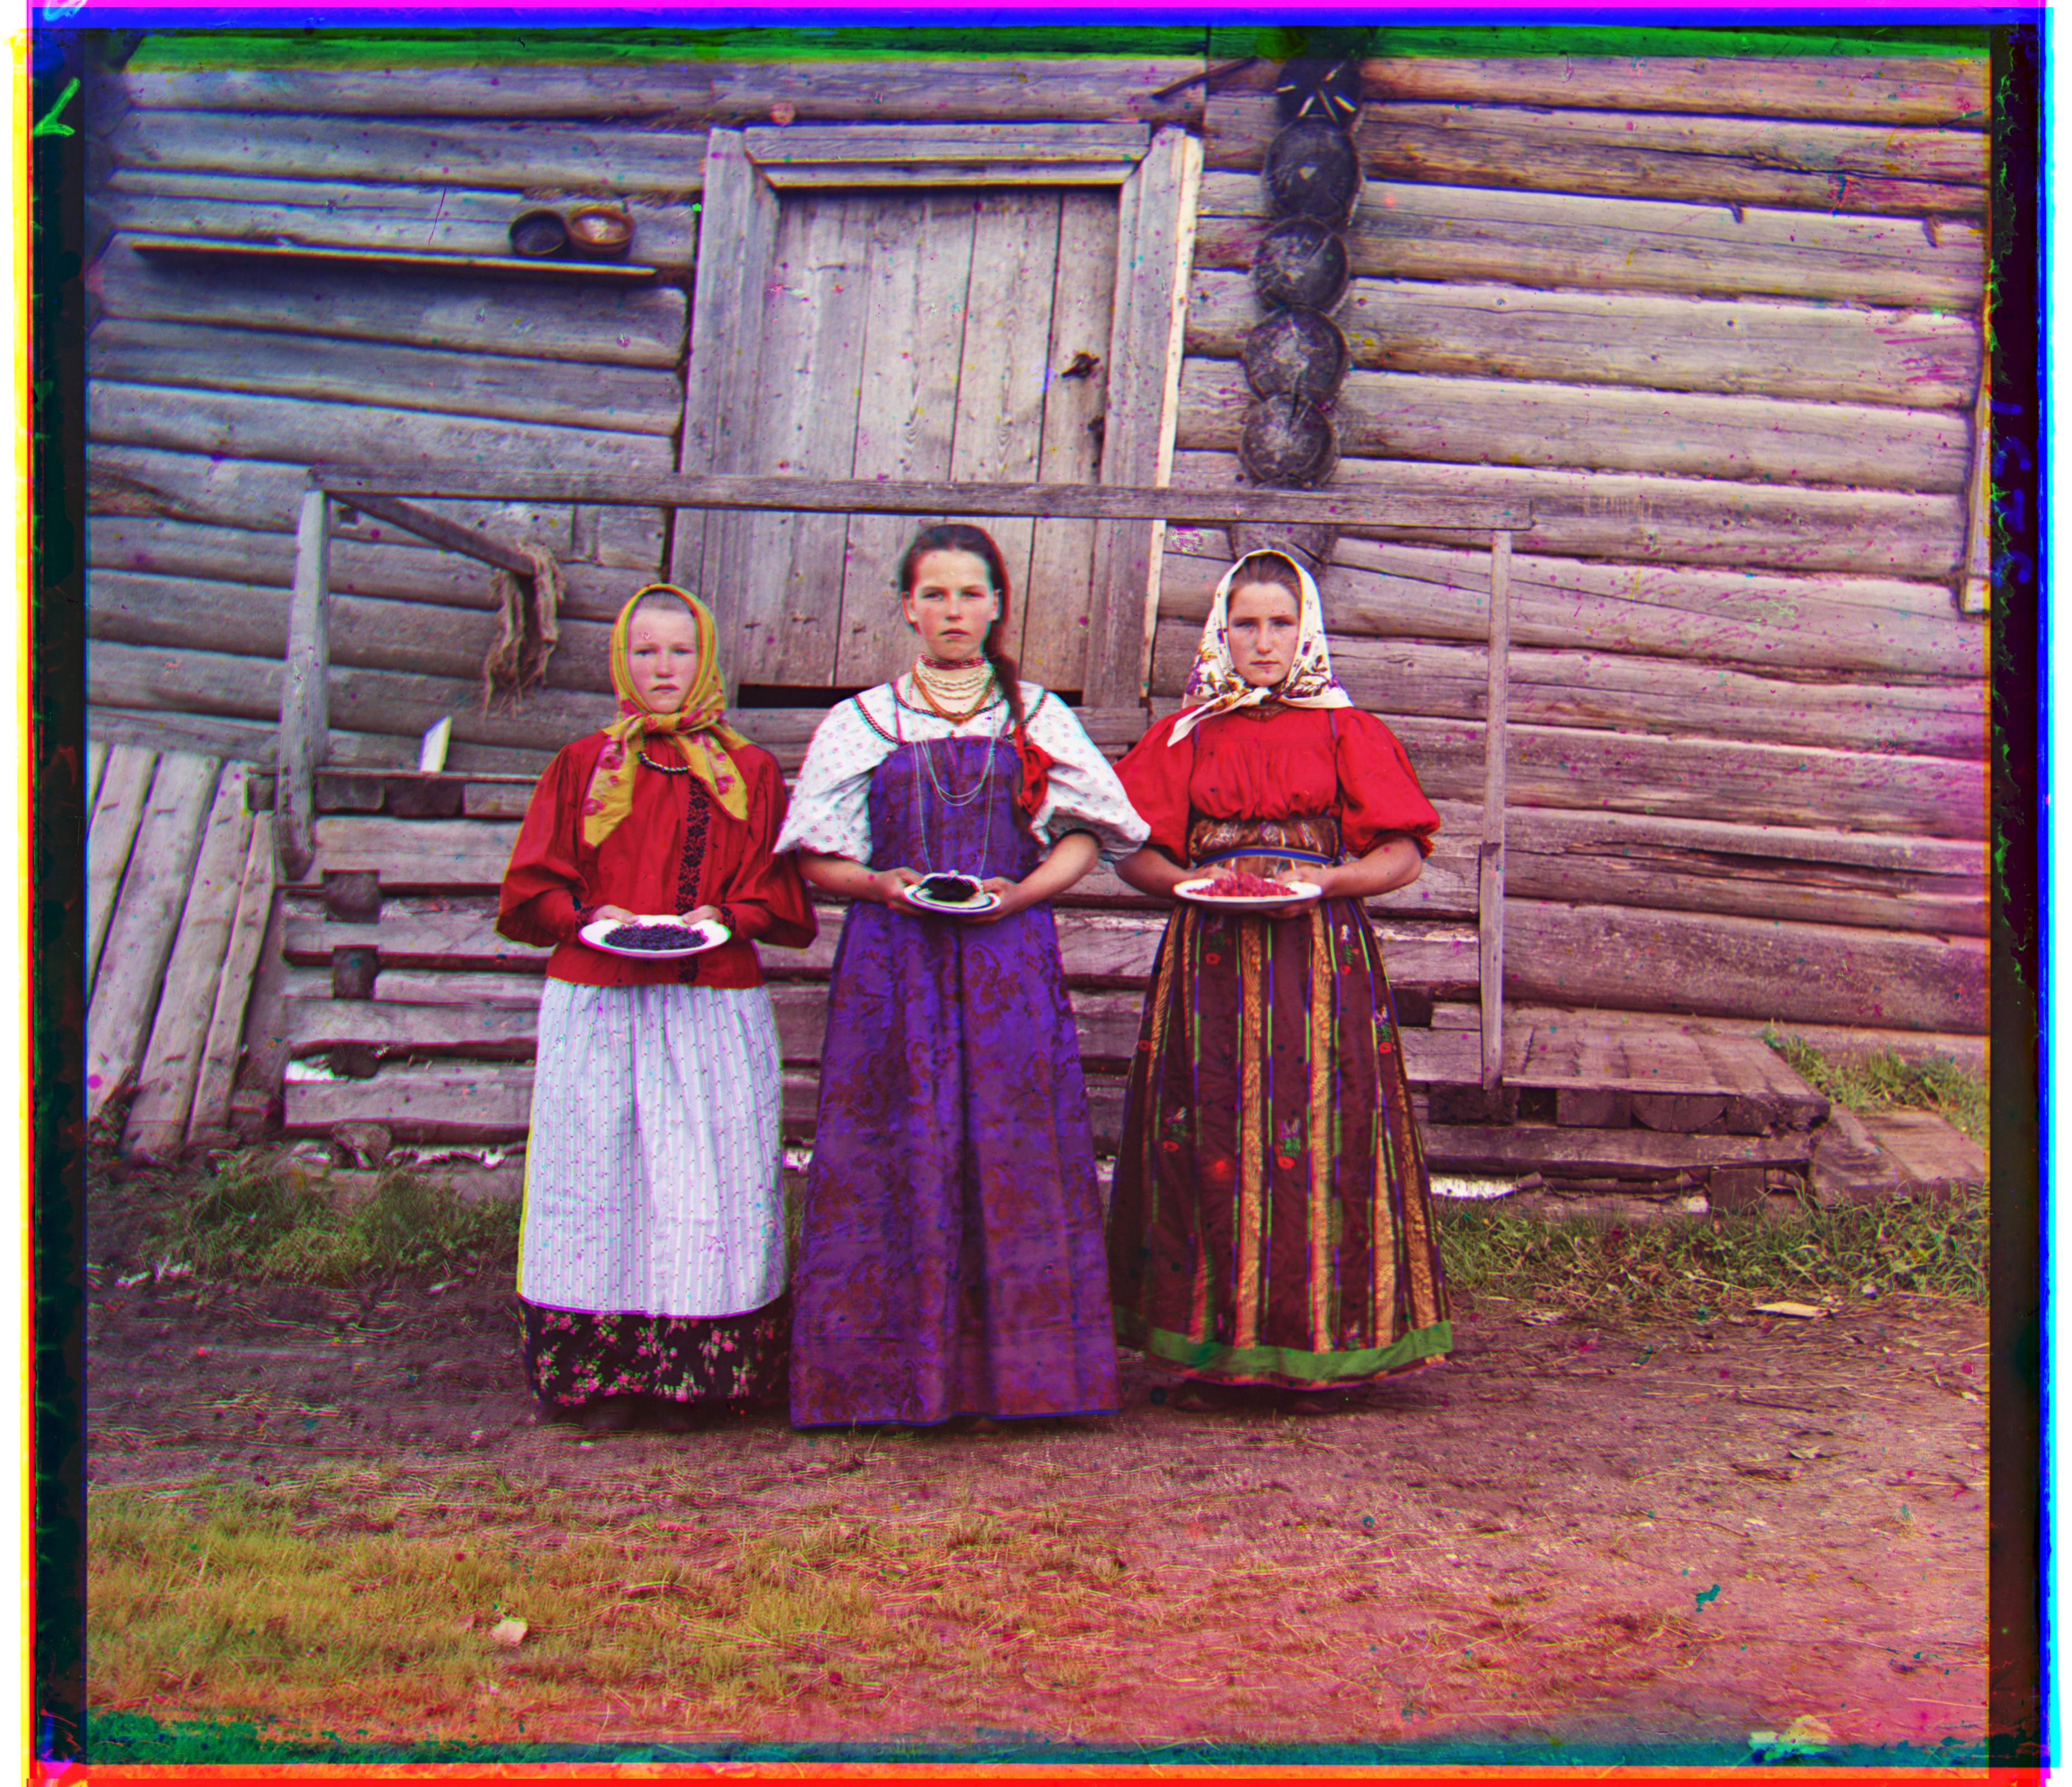
And now, a few images of my personal choice from the Prokudin-Gorskii collection: